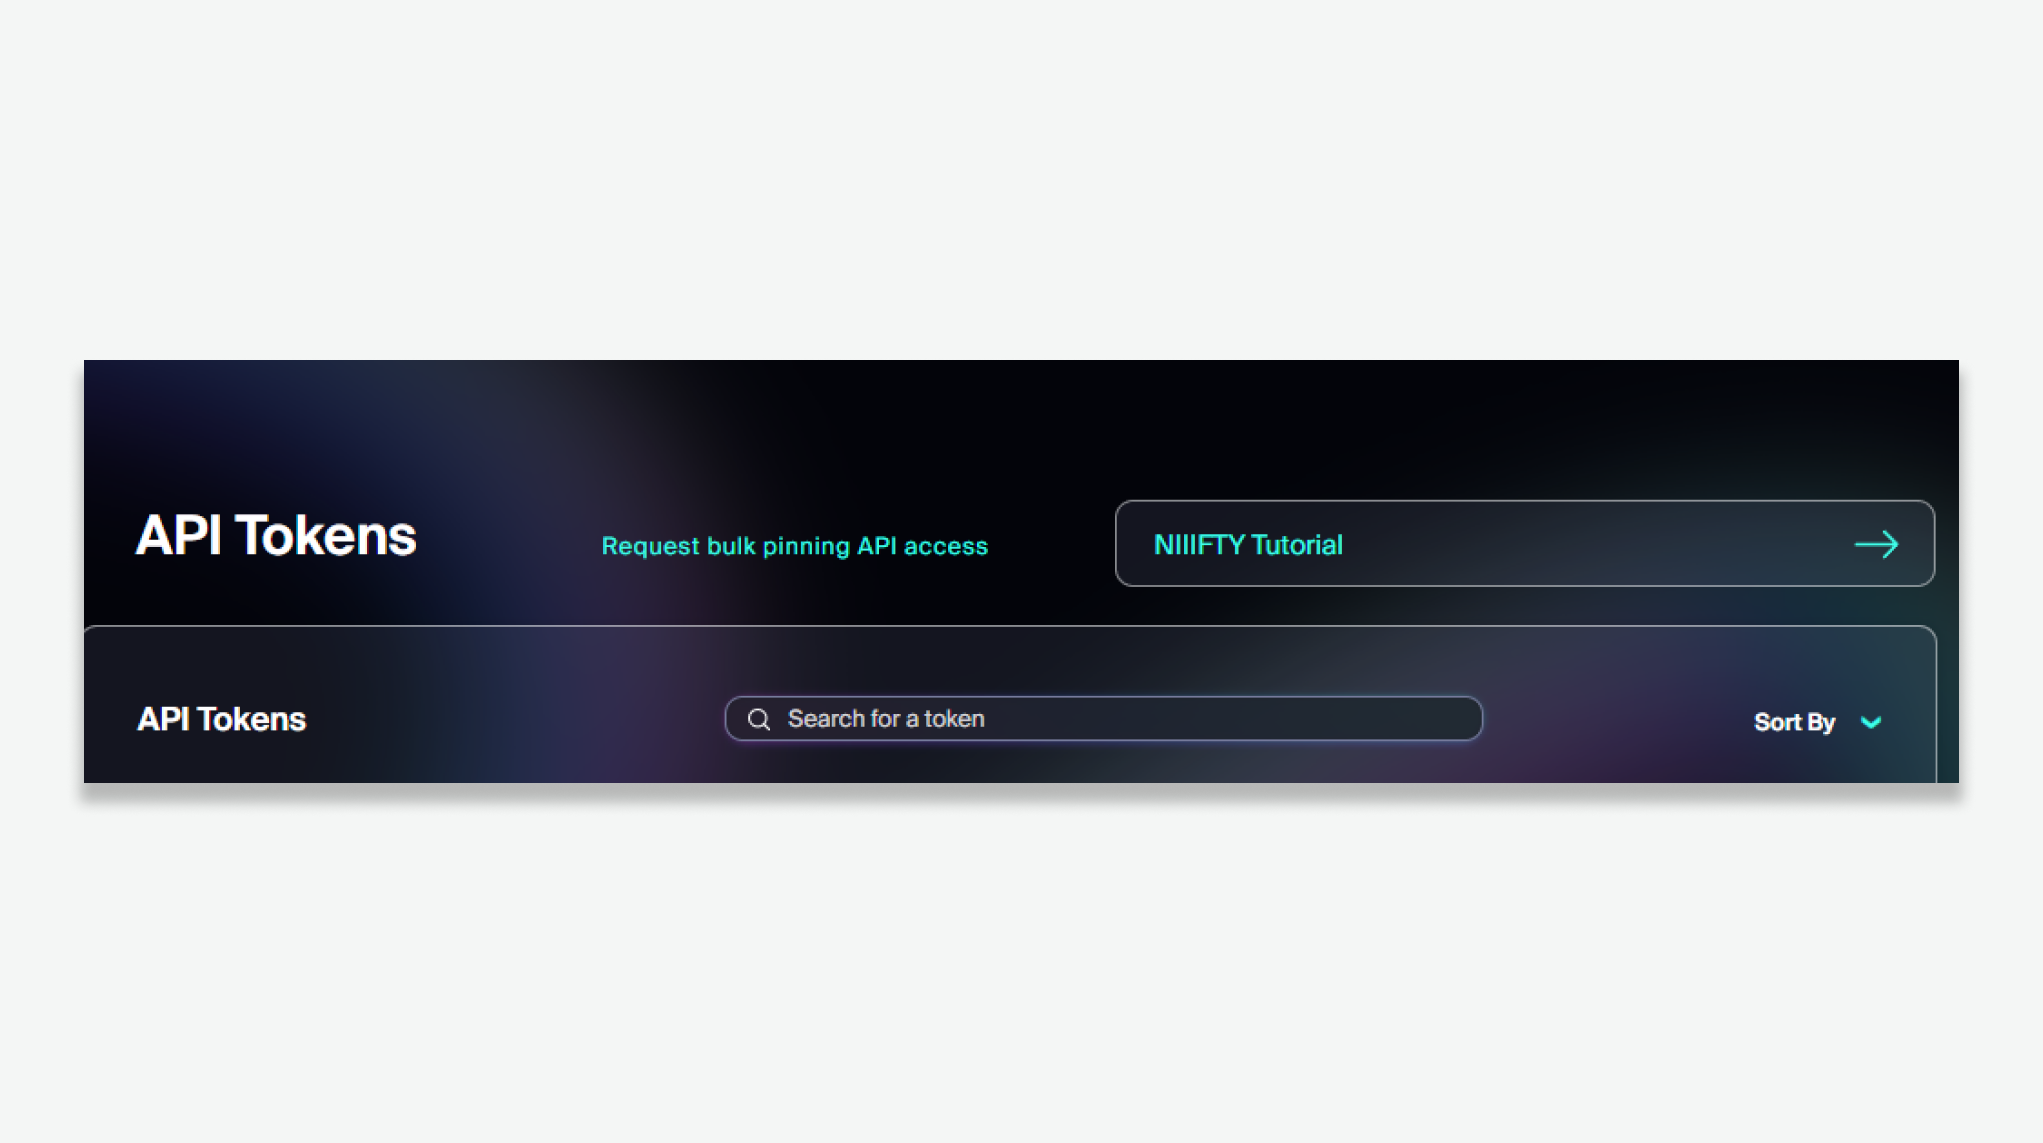
Setup
This is a step-by-step guide to setting up your own NIIIFTY instance using Firebase and Vercel.
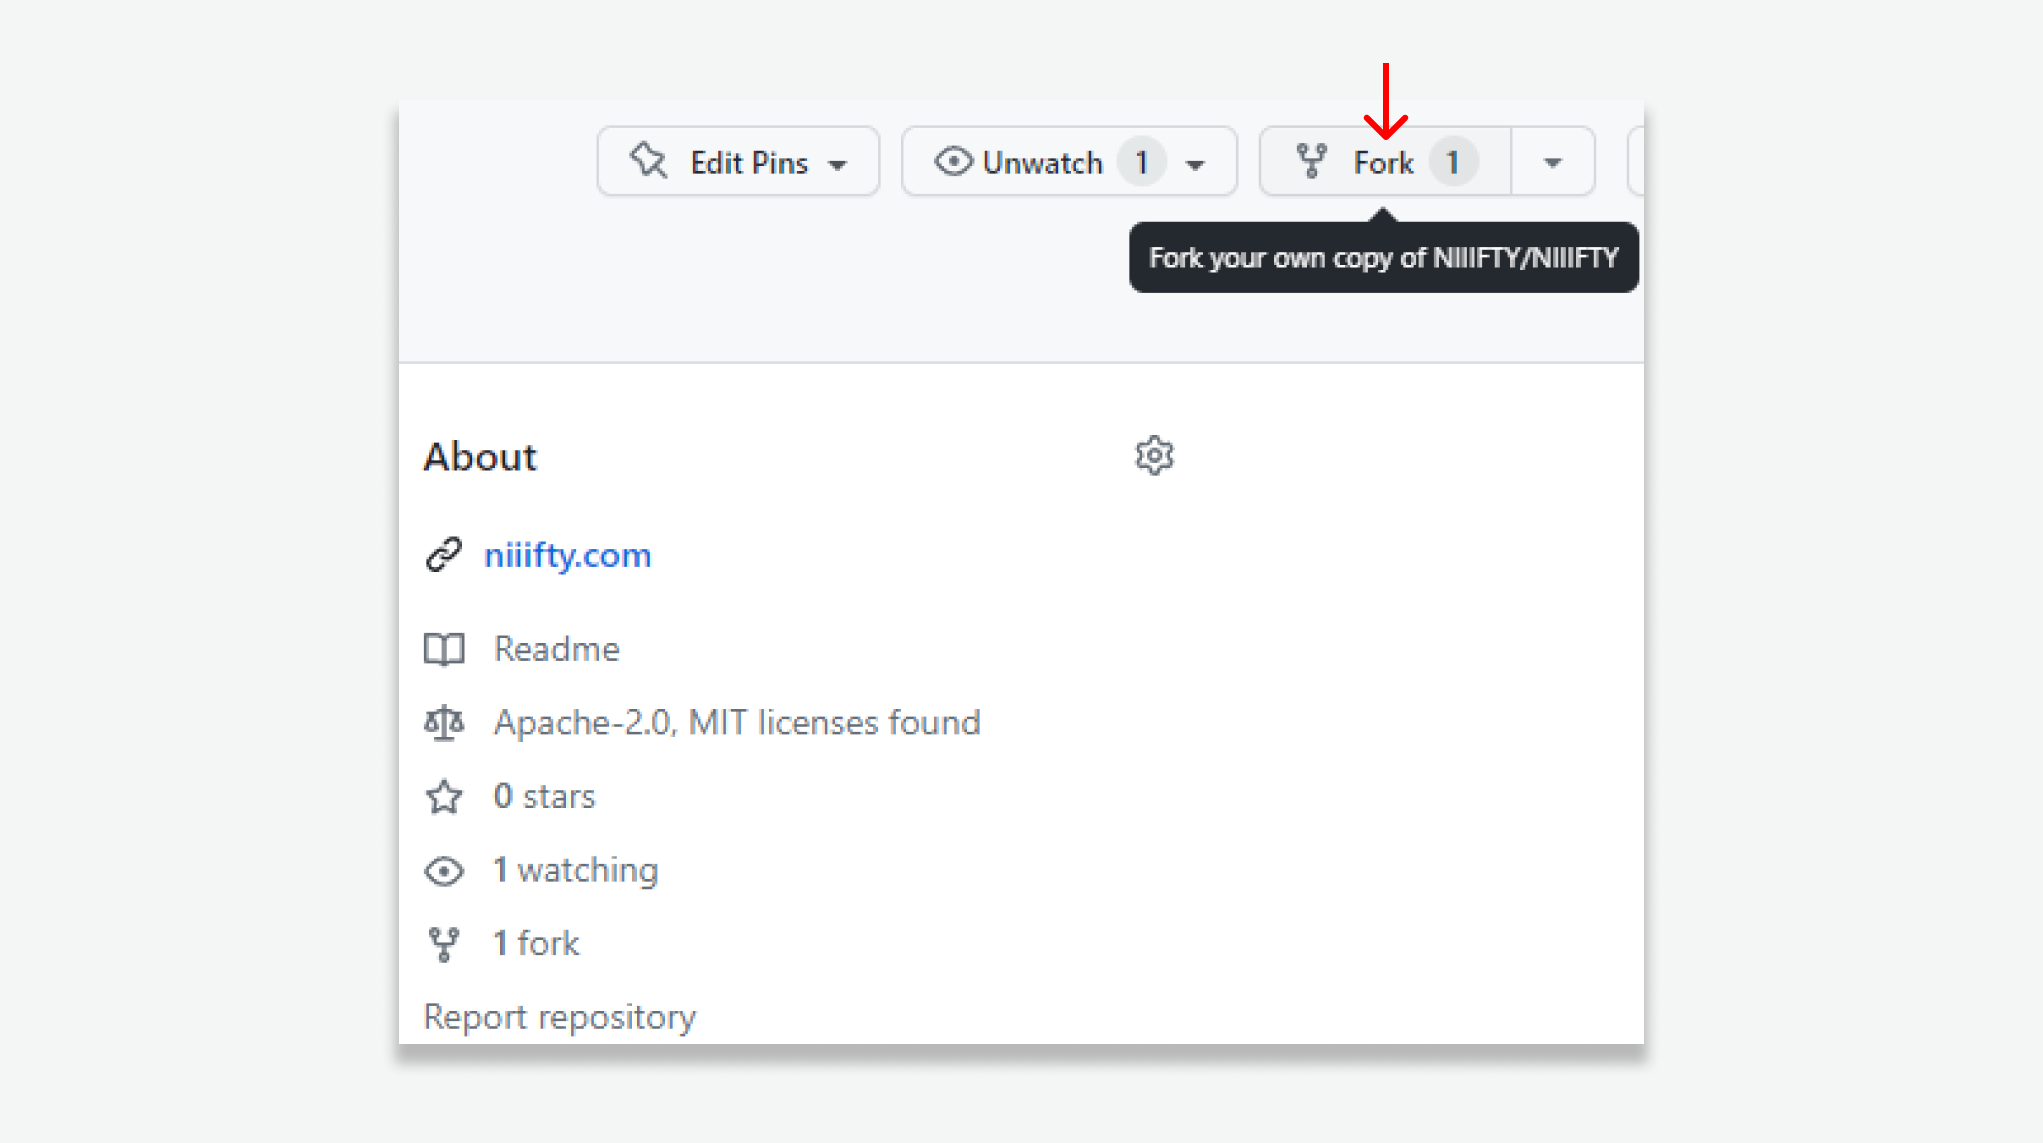
First, fork the NIIIFTY github repository to your own github profile.

git clone your NIIIFTY fork to your local filesystem
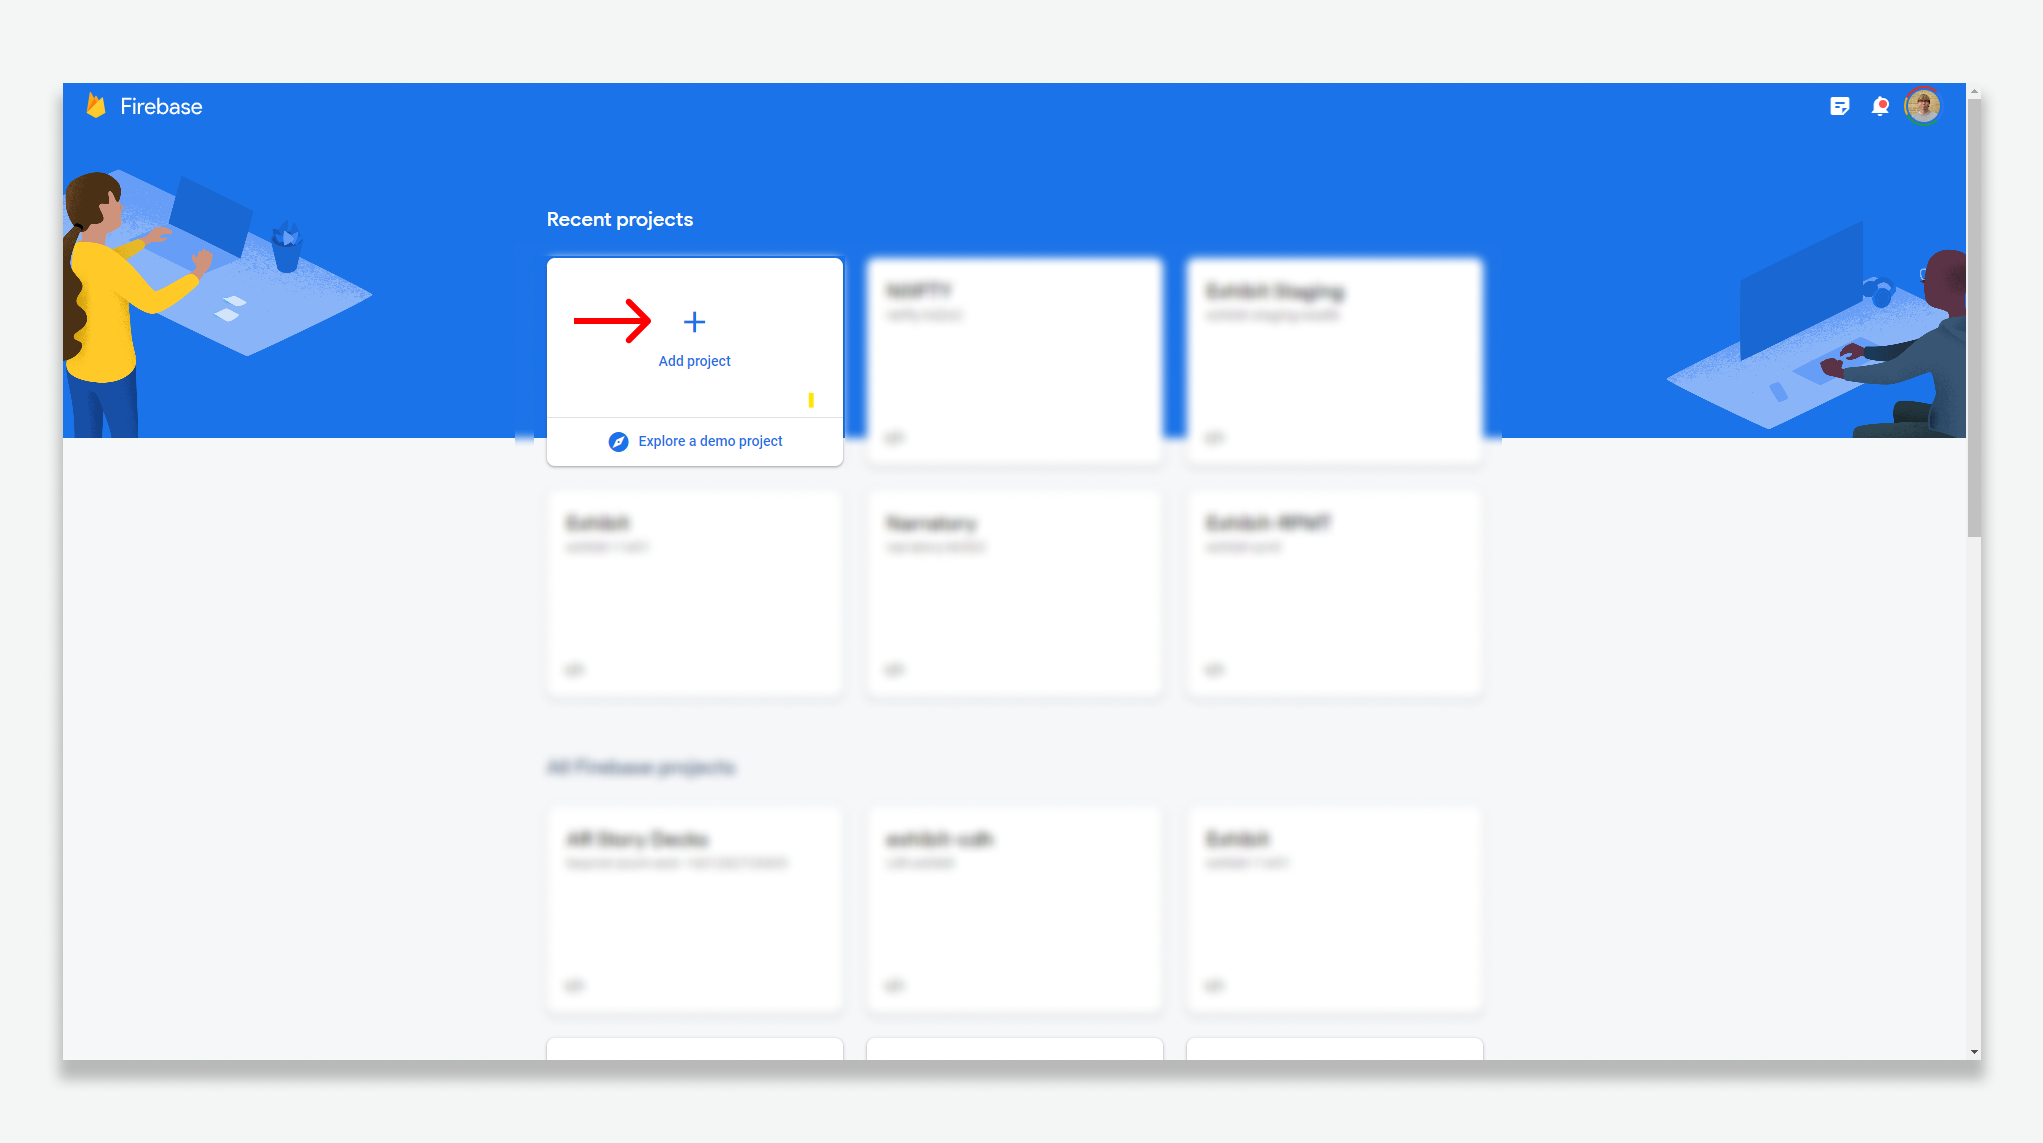
Go to your Firebase console and click Add project.
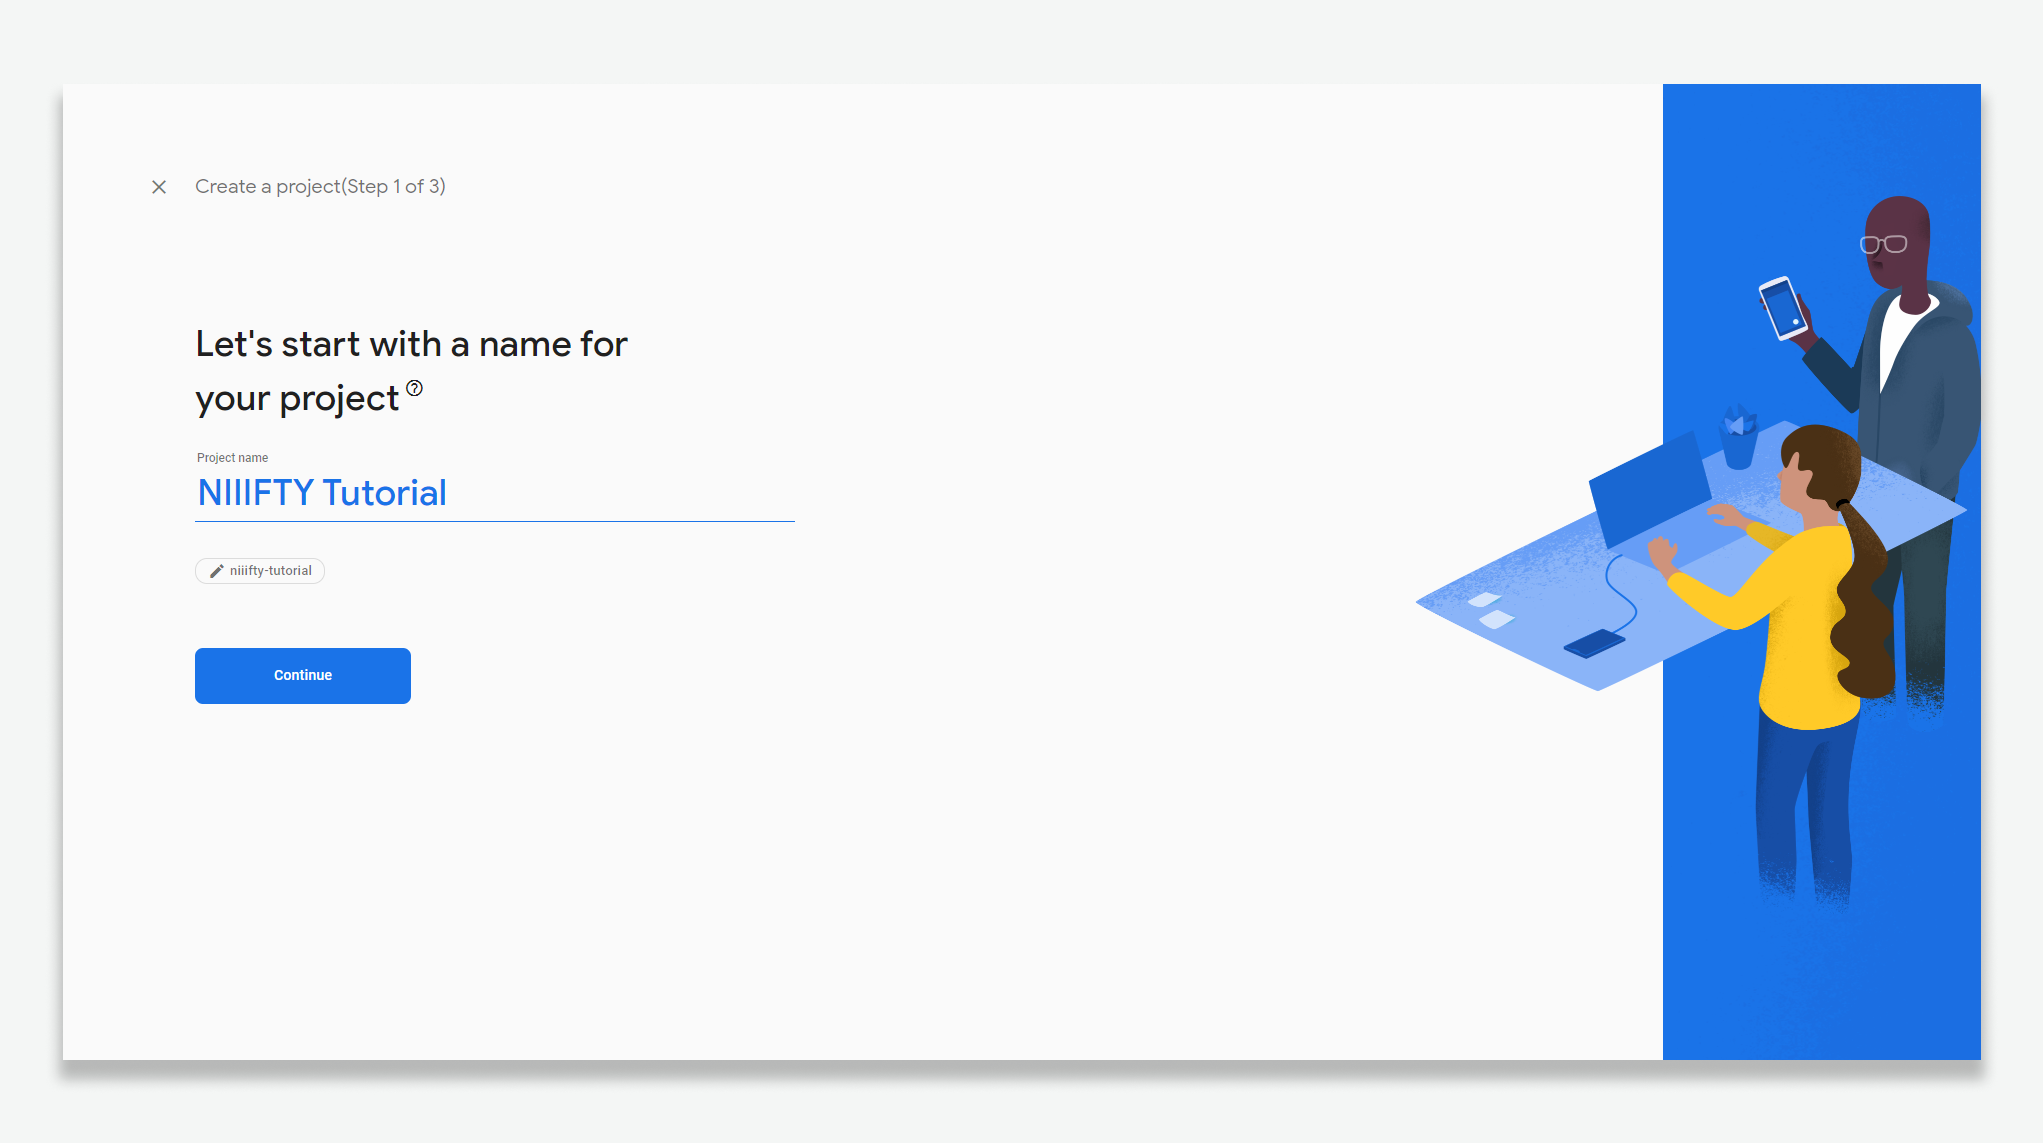
Give your project a name and click Continue
Leave Google Analytics enabled.
Click Create Project.
Once your project is created, click Continue.
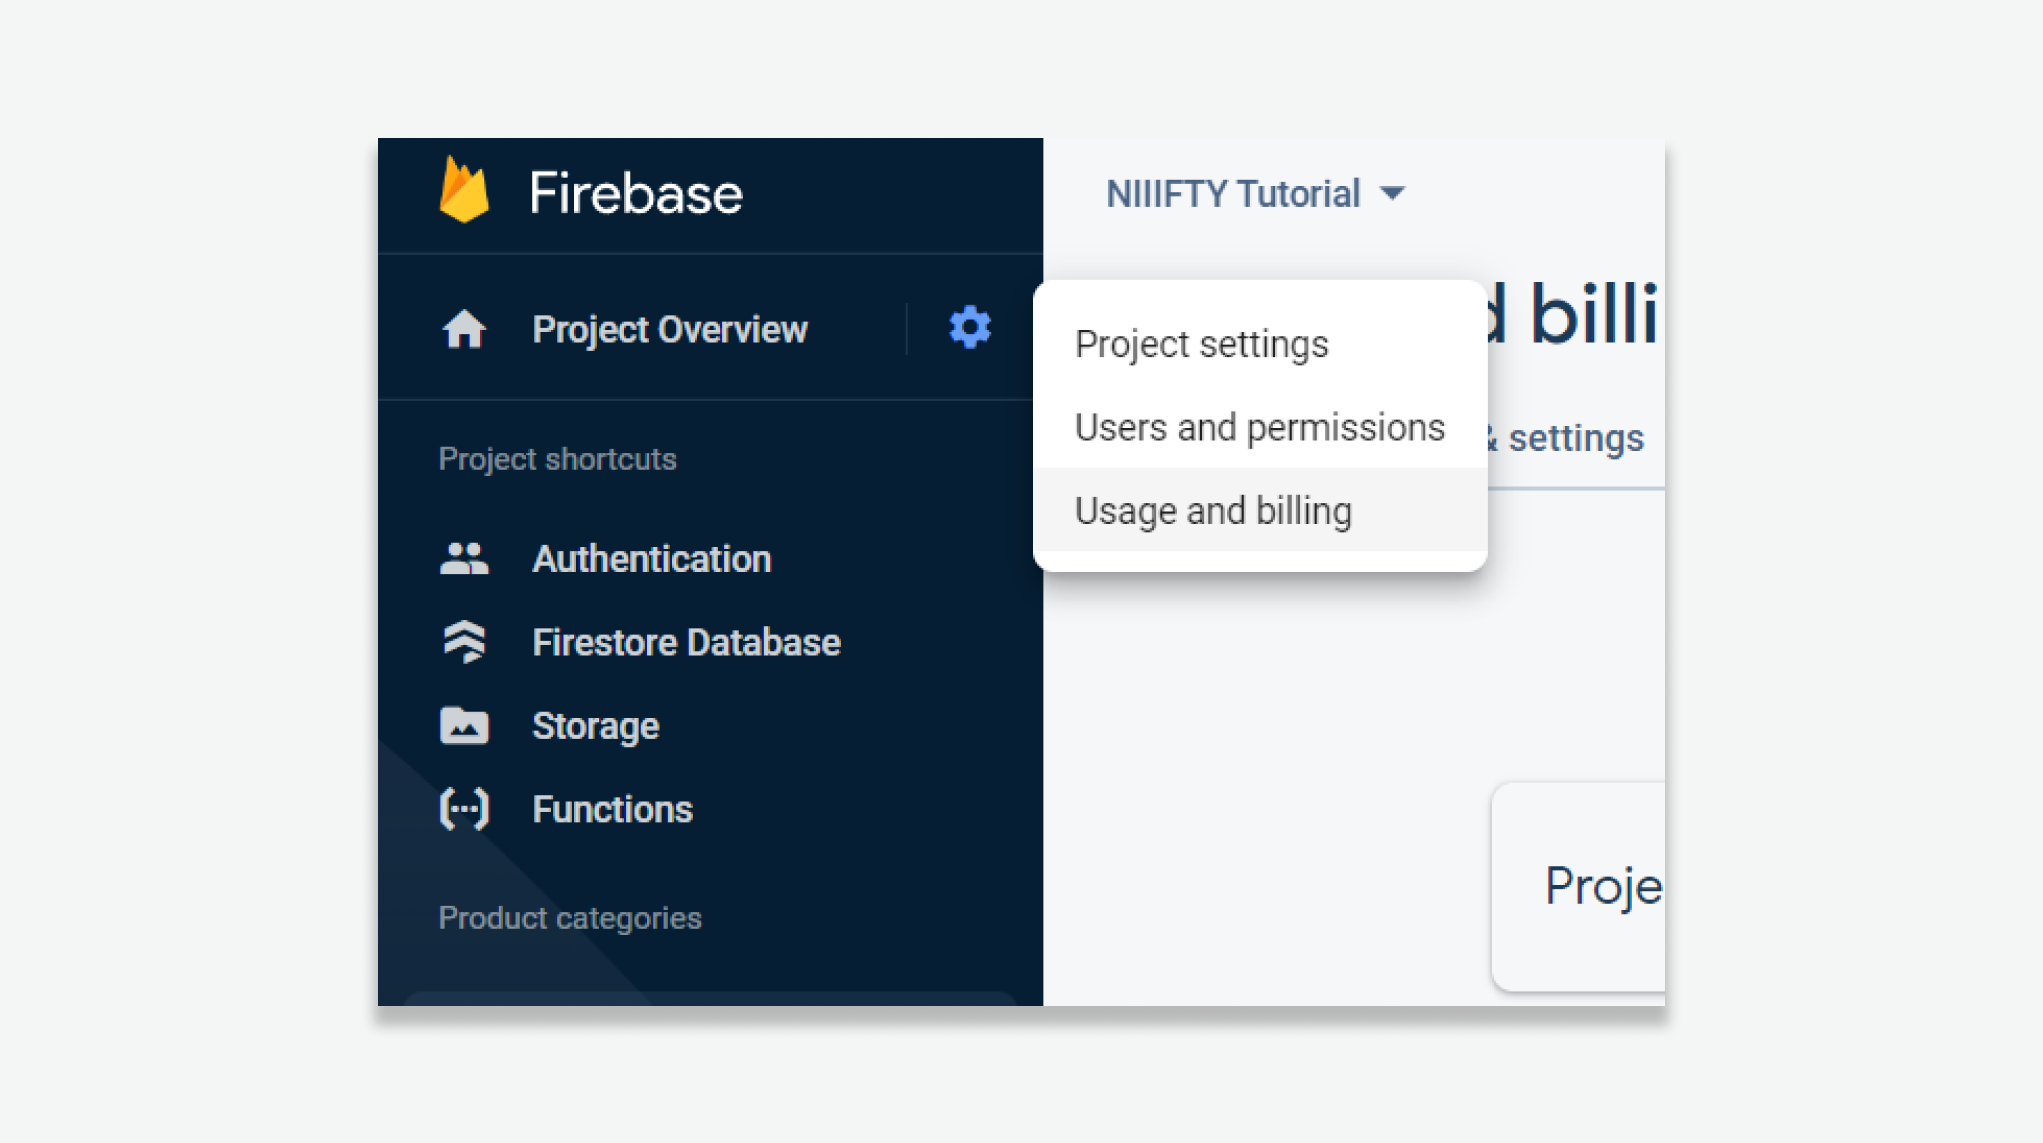
In your firebase console, click the cog icon next to Project Overview and select Usage and Billing.
Under the Details and Settings tab, select Modify Plan. Select the Blaze Plan.
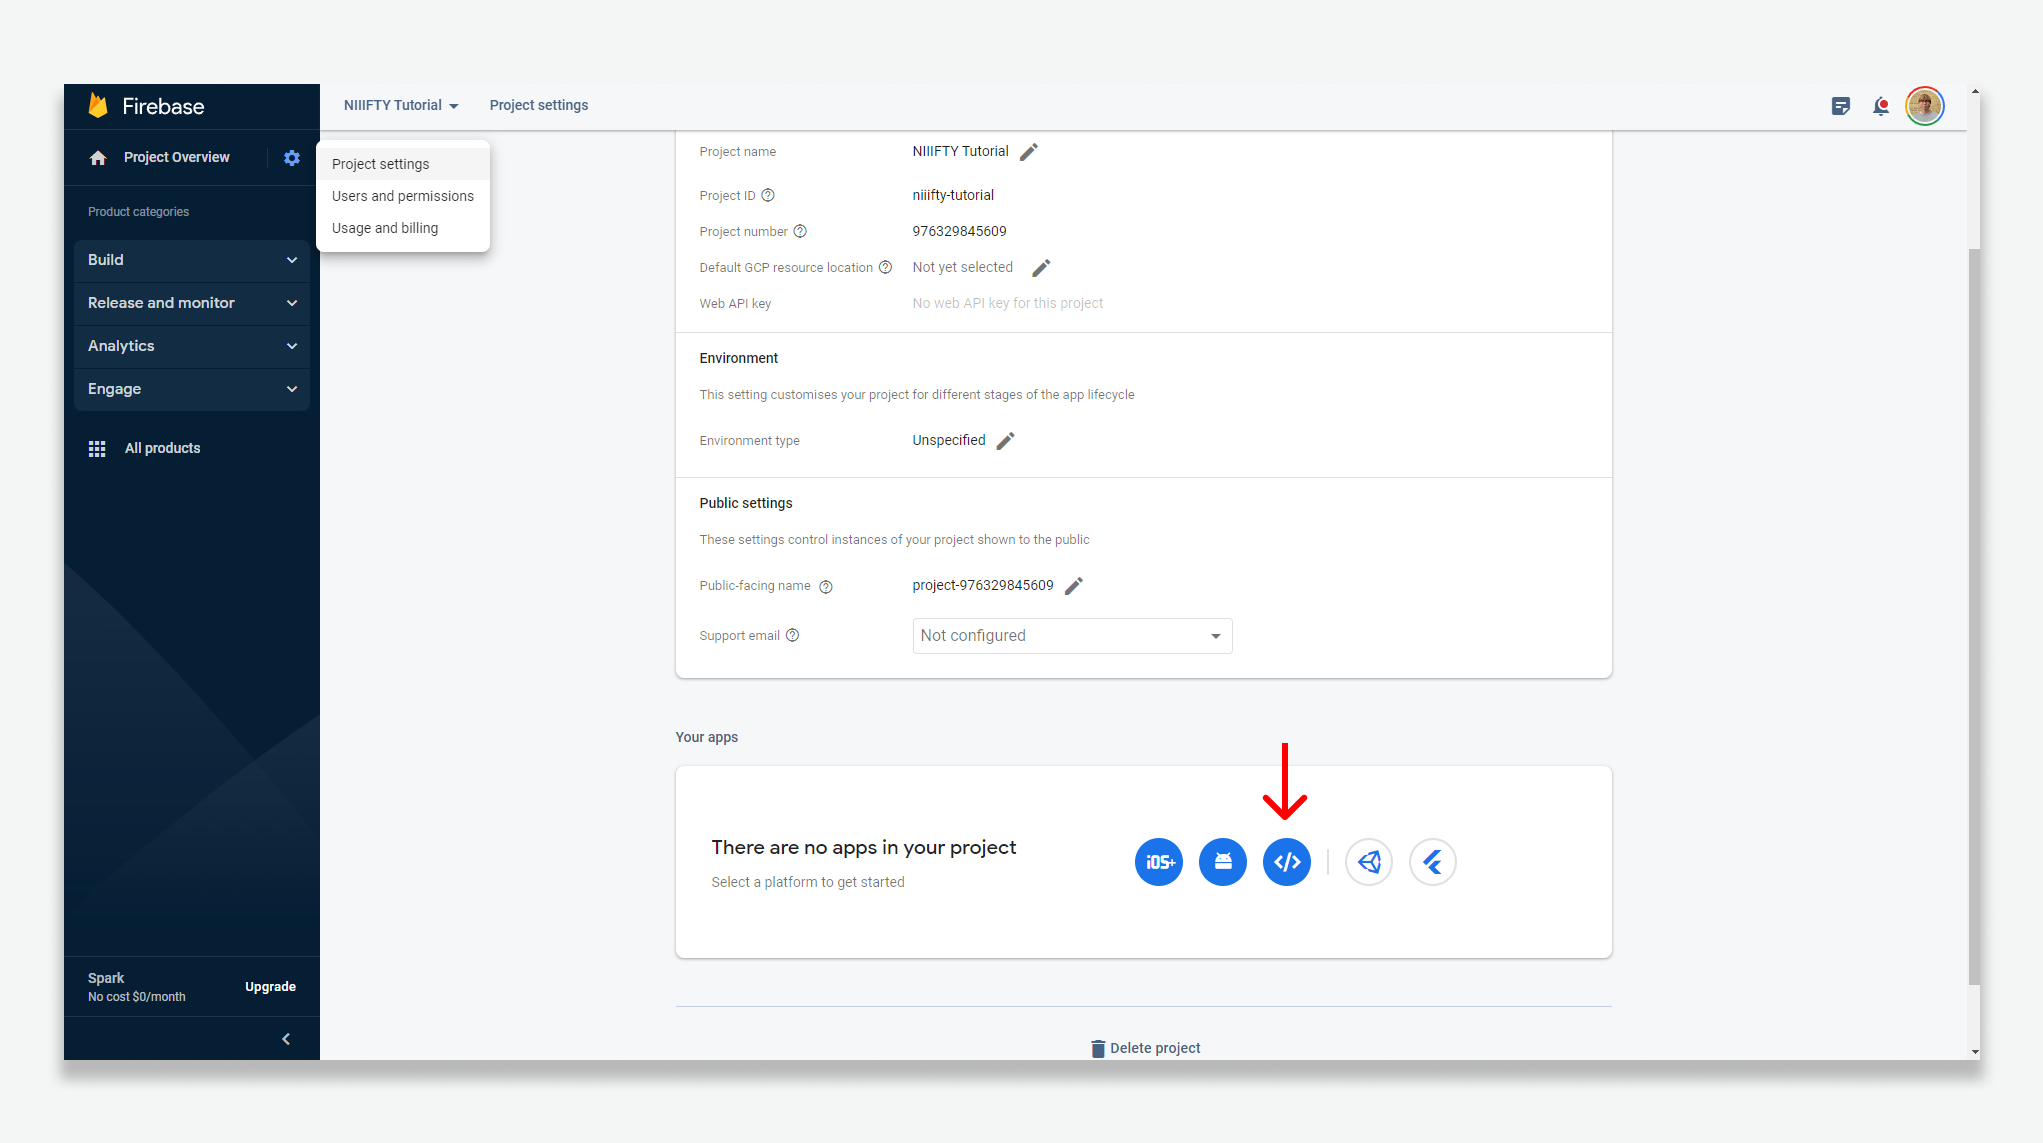
Click the cog icon next to Project Overview and select Project settings. Scroll down to Your apps, and select Web App.

Give your app a nickname and click Register app. We'll be using Vercel for hosting, so leave Firebase Hosting unchecked.
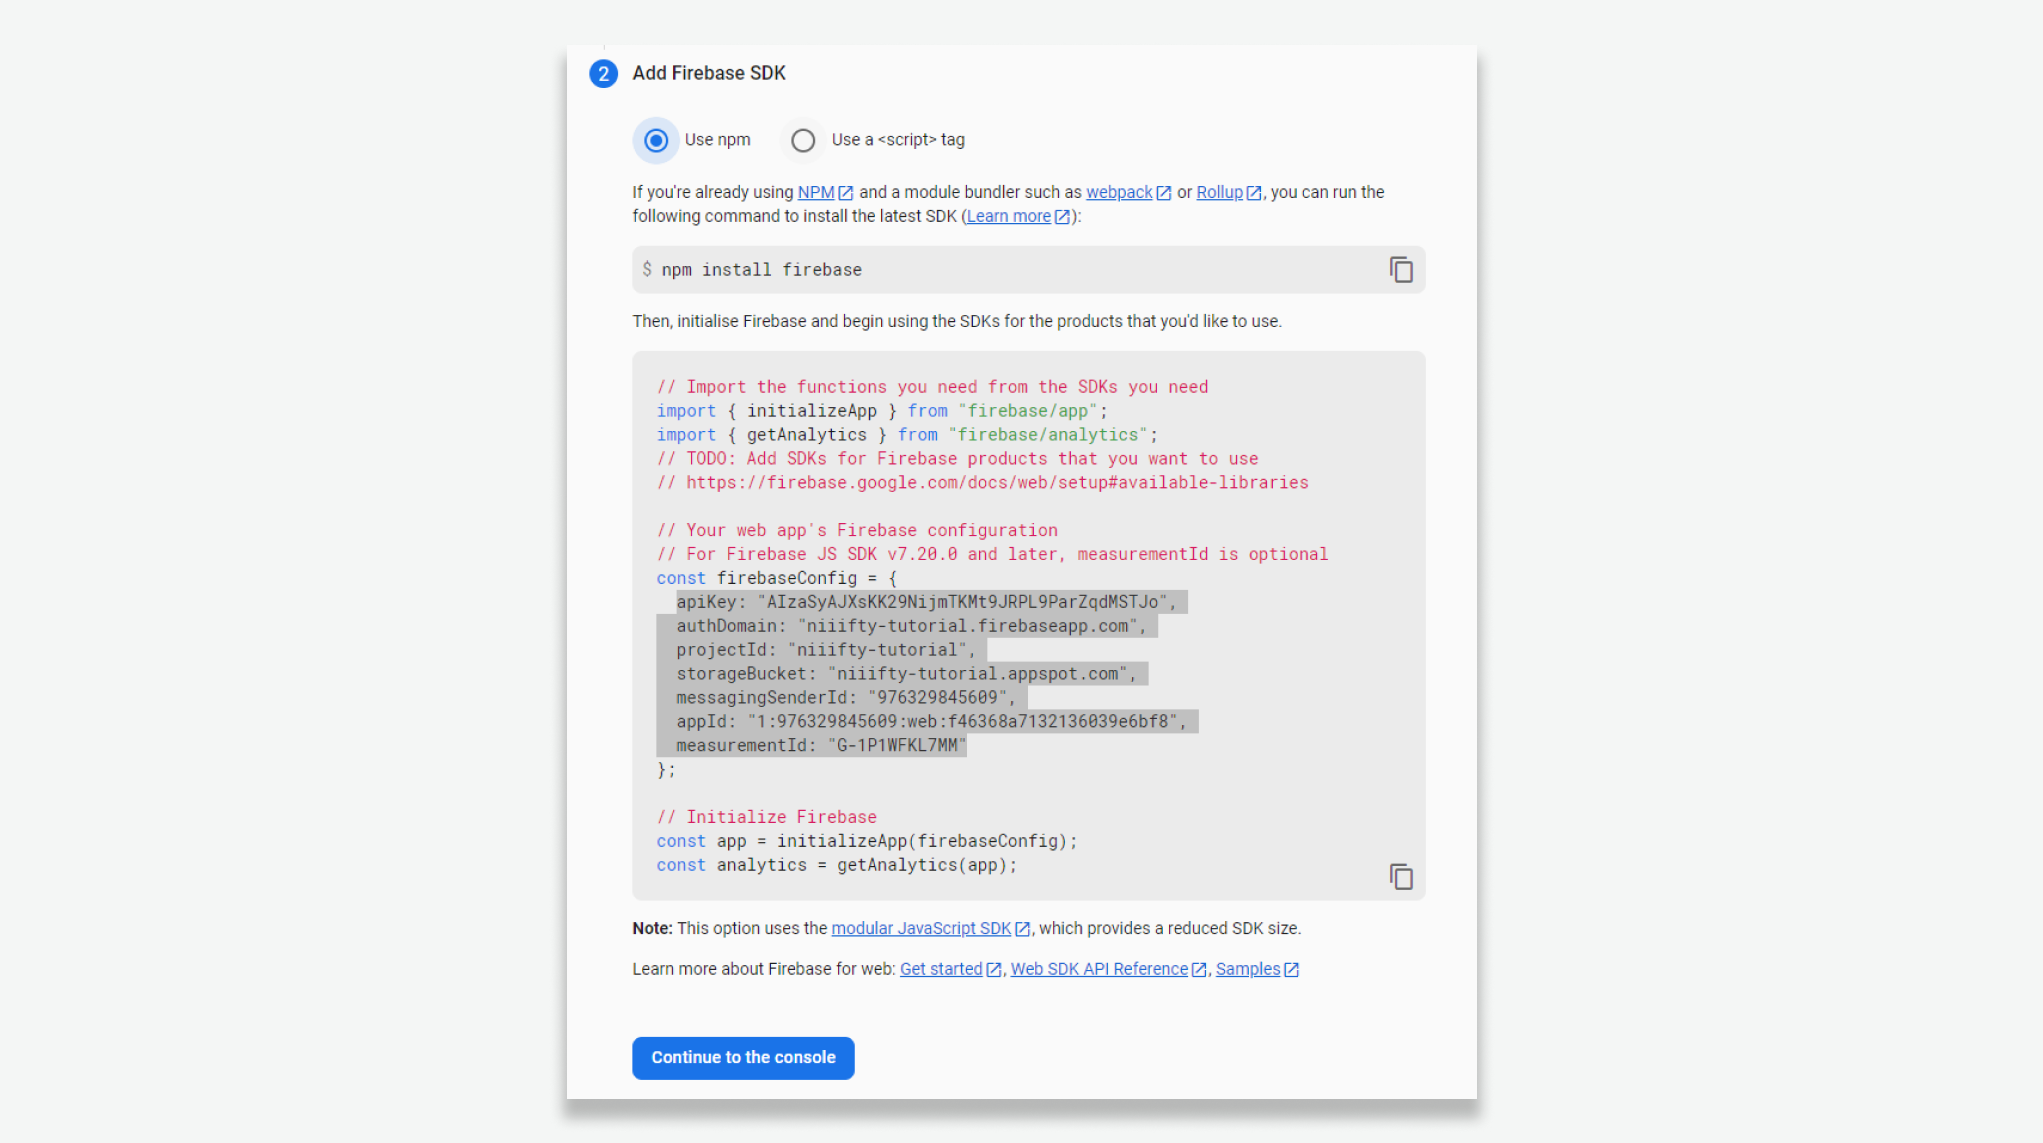
Copy the firebaseConfig object values to your clipboard and click Continue to console.
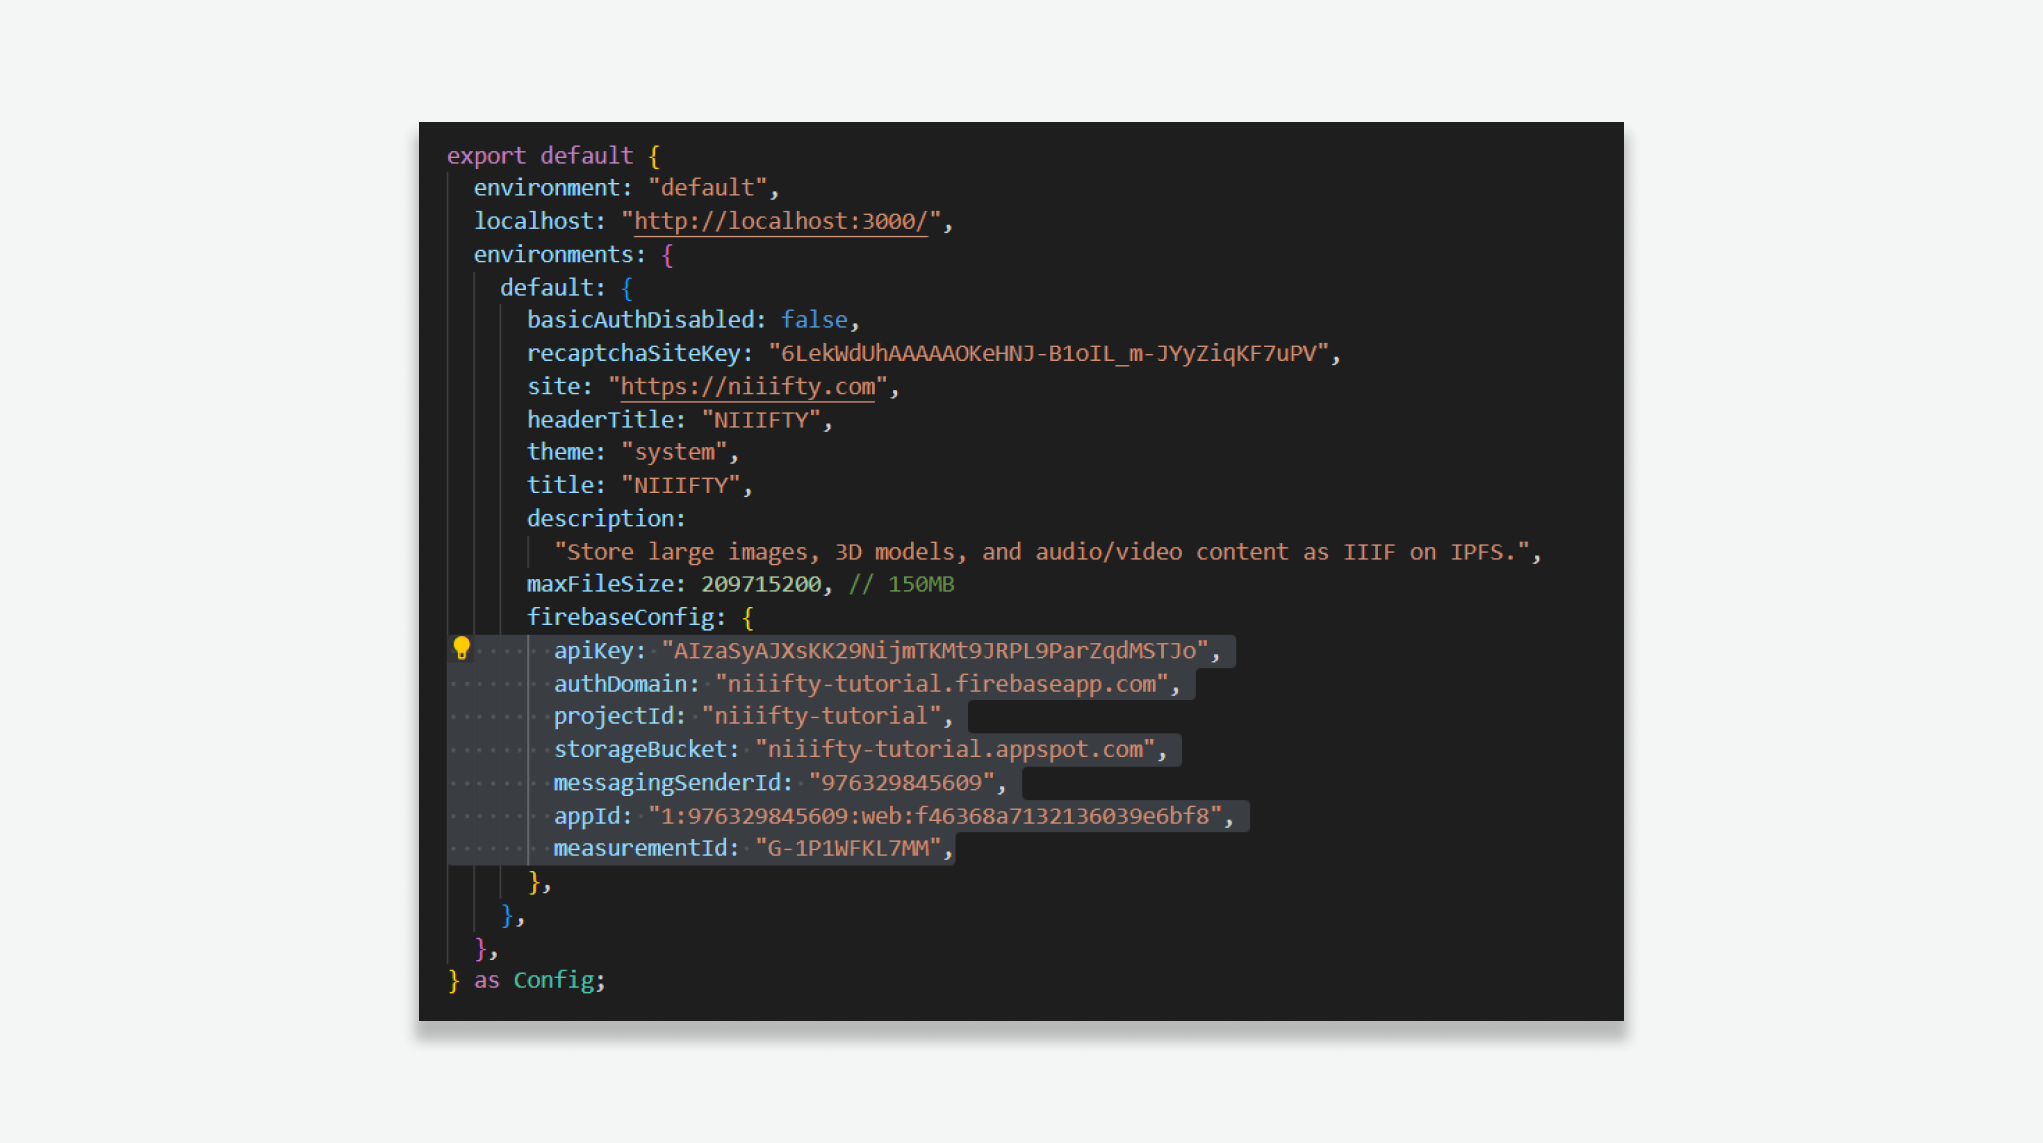
Open your locally-cloned NIIIFTY project in VSCode.
Find the niiifty.config.ts file and paste in your Firebase config values.

Set basicAuthDisabled to true
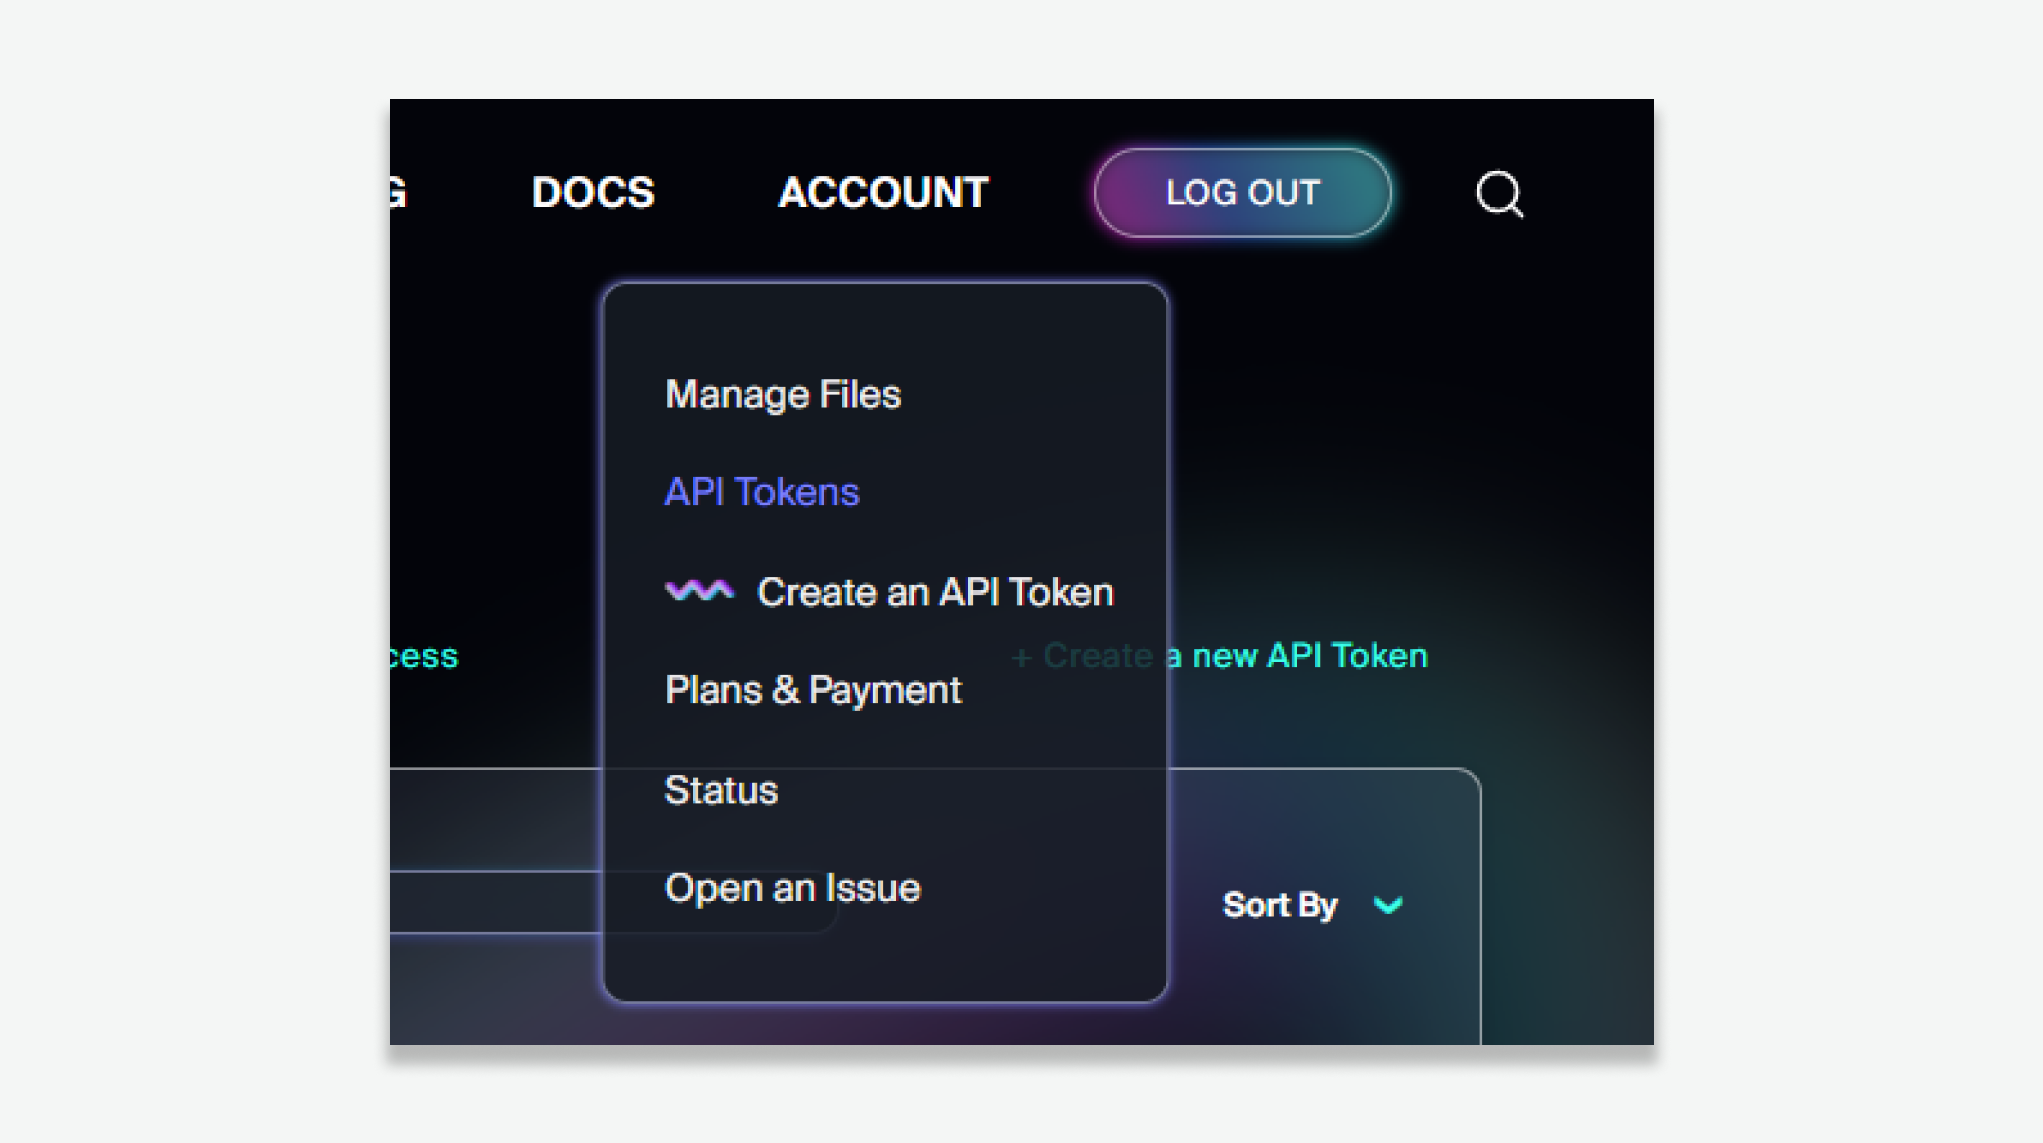
Browse to Web3.storage and create an account. Once your account is created, navigate to Account and Create an API Token.
Give your token a name, e.g. NIIIFTY Tutorial and click Create.
Copy your newly created API token to the clipboard.
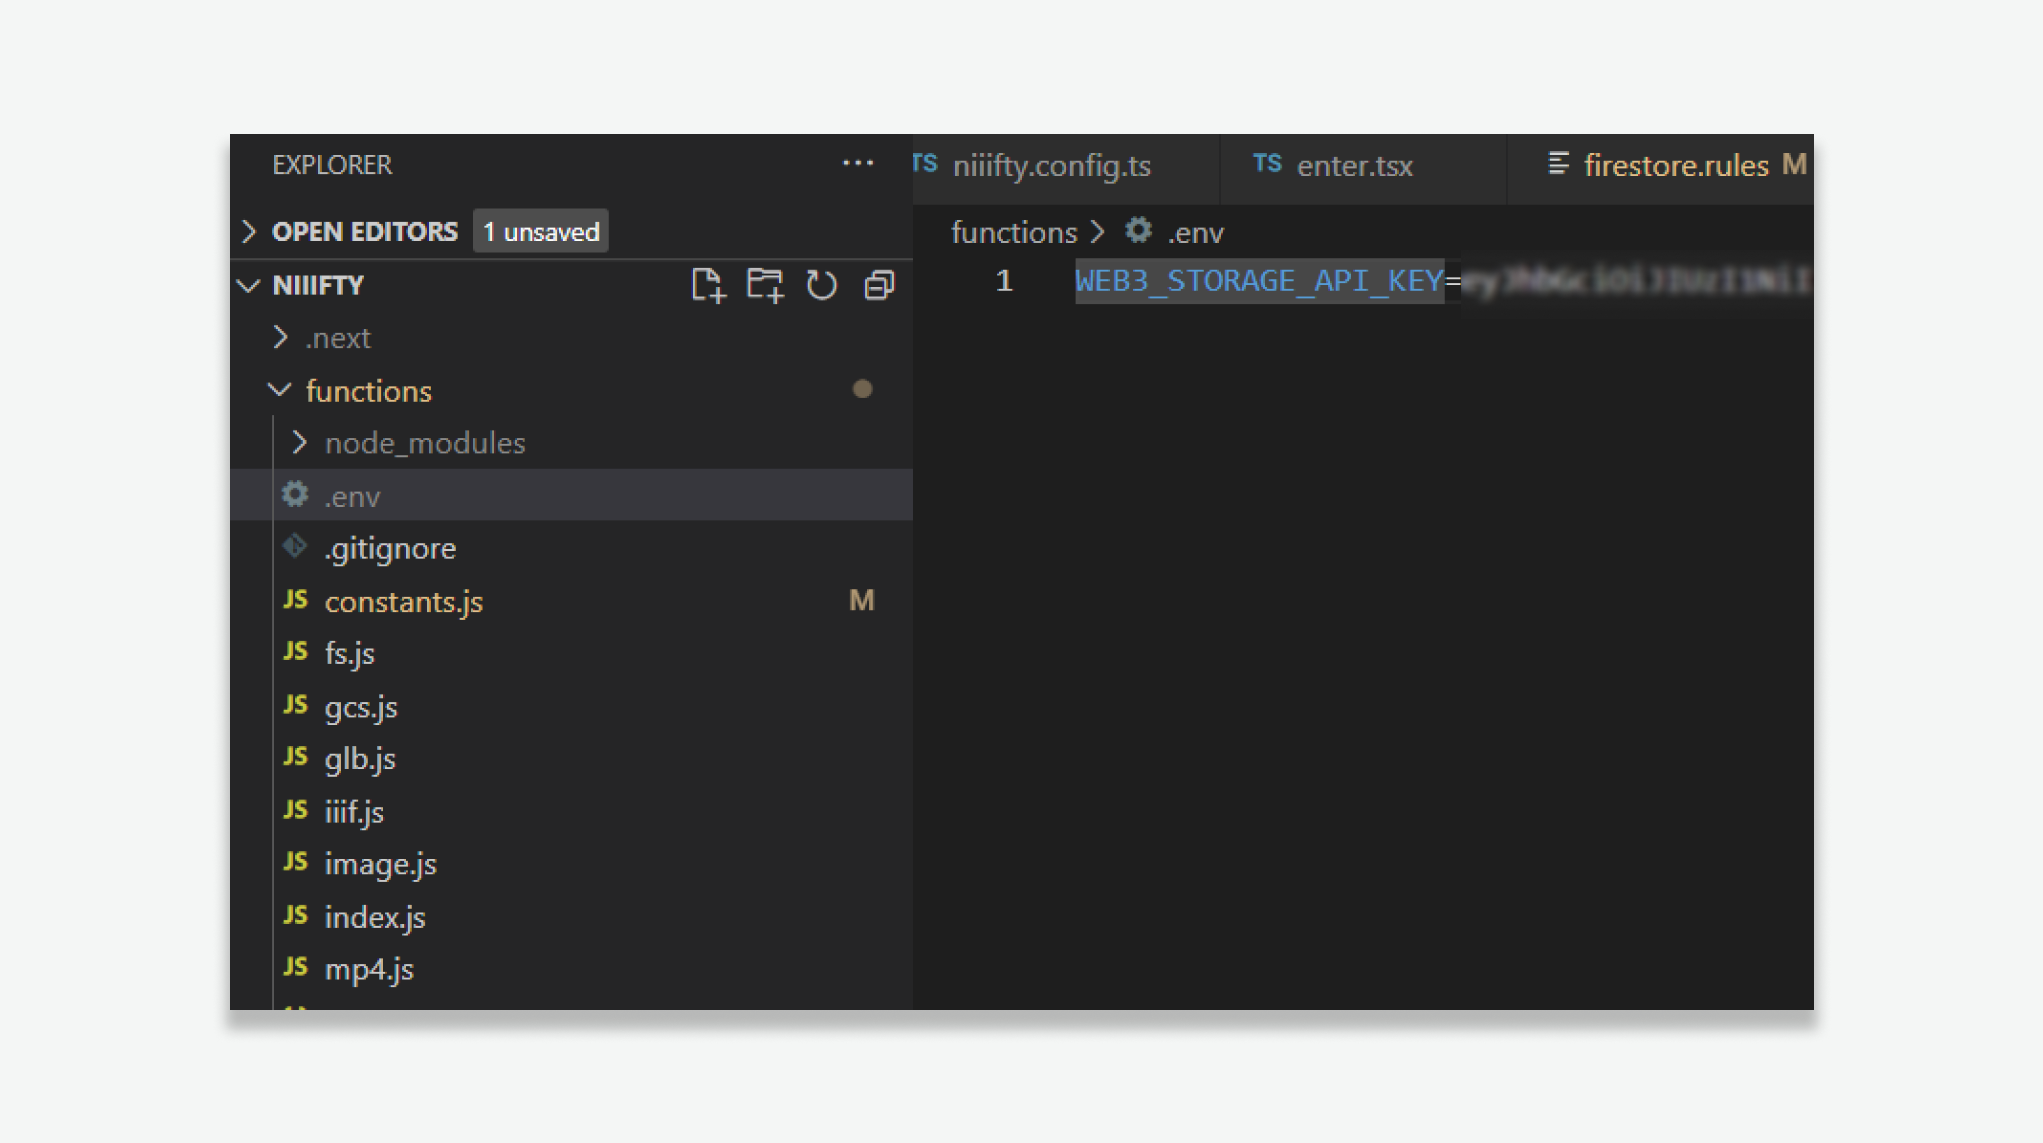
In vscode, add a .env file to your functions folder. Add WEB3_STORAGE_API_KEY=[pasted key from clipboard]
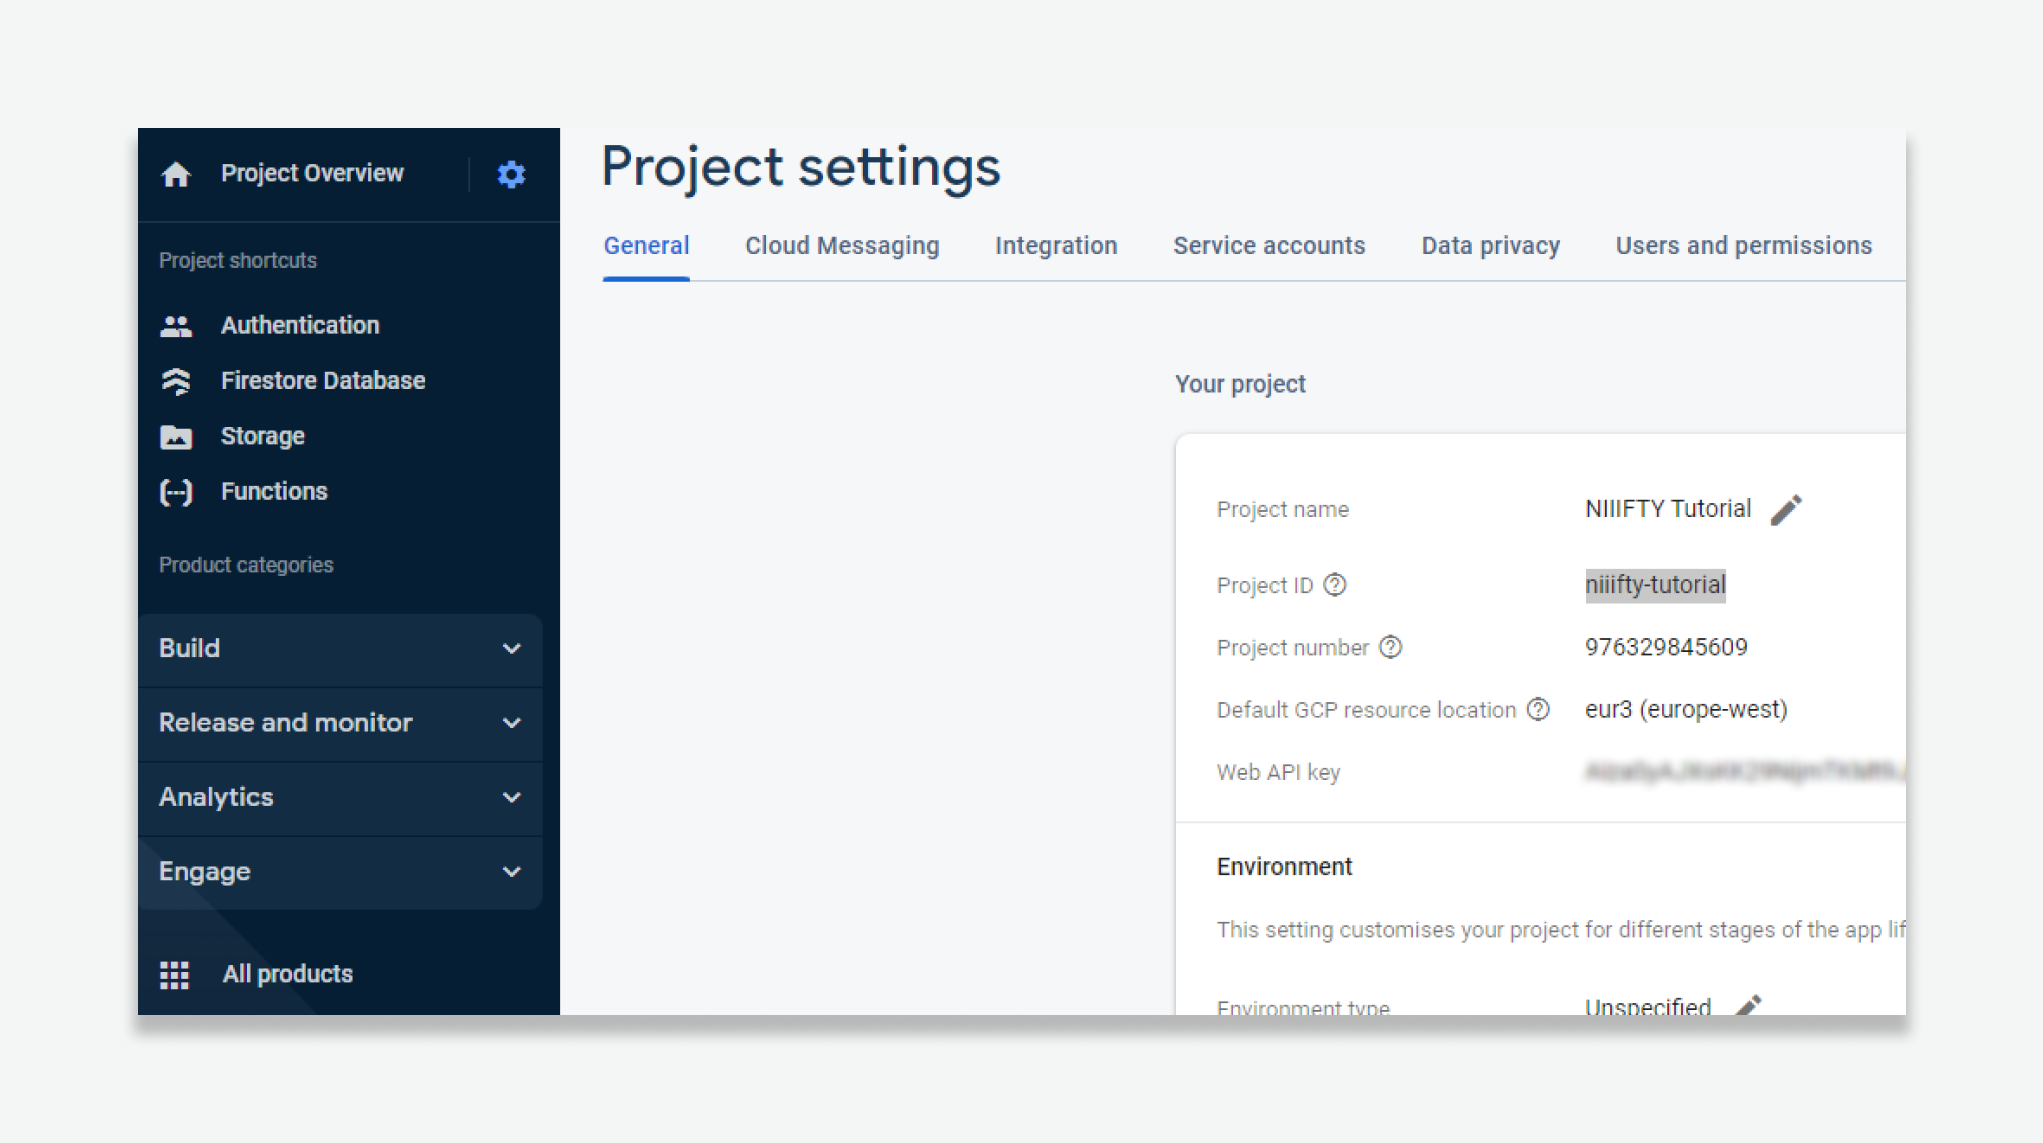
In your firebase console, click the cog icon next to Project Overview and select Project settings.
Under the General tab, find the Project ID and copy it.
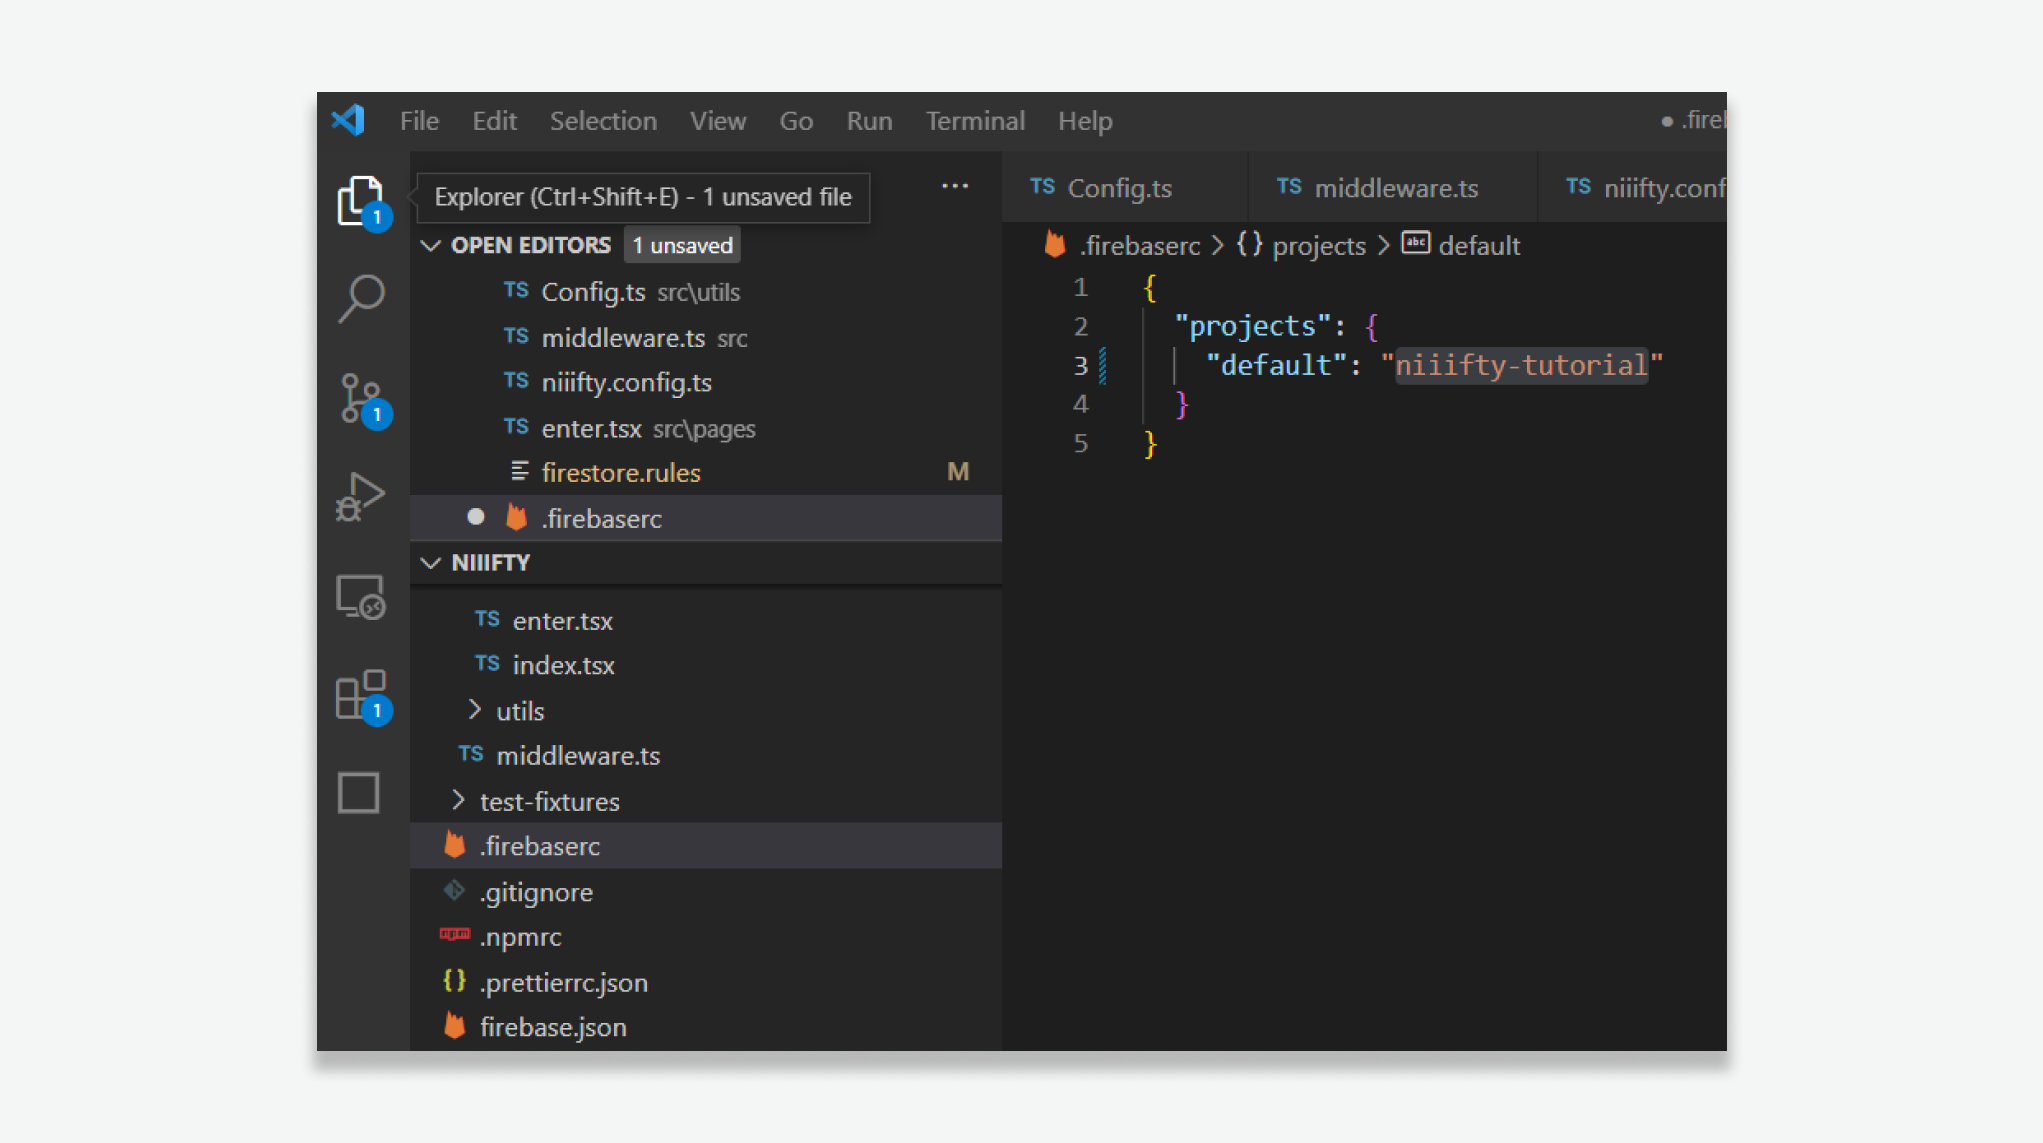
In vscode, open the .firebaserc file.
Paste your project ID into the default value.
If you do not already have the Firebase CLI installed, please install it.
Once installed, open a command prompt in the root of your firebase project and type:
firebase use defaultNow using alias default (niiifty-tutorial) In your command prompt, now type:
cd functions
npm i
Once the node modules are installed, type:
cd ../
npm run deploy
Once deployed to Firebase, you should see a success message.
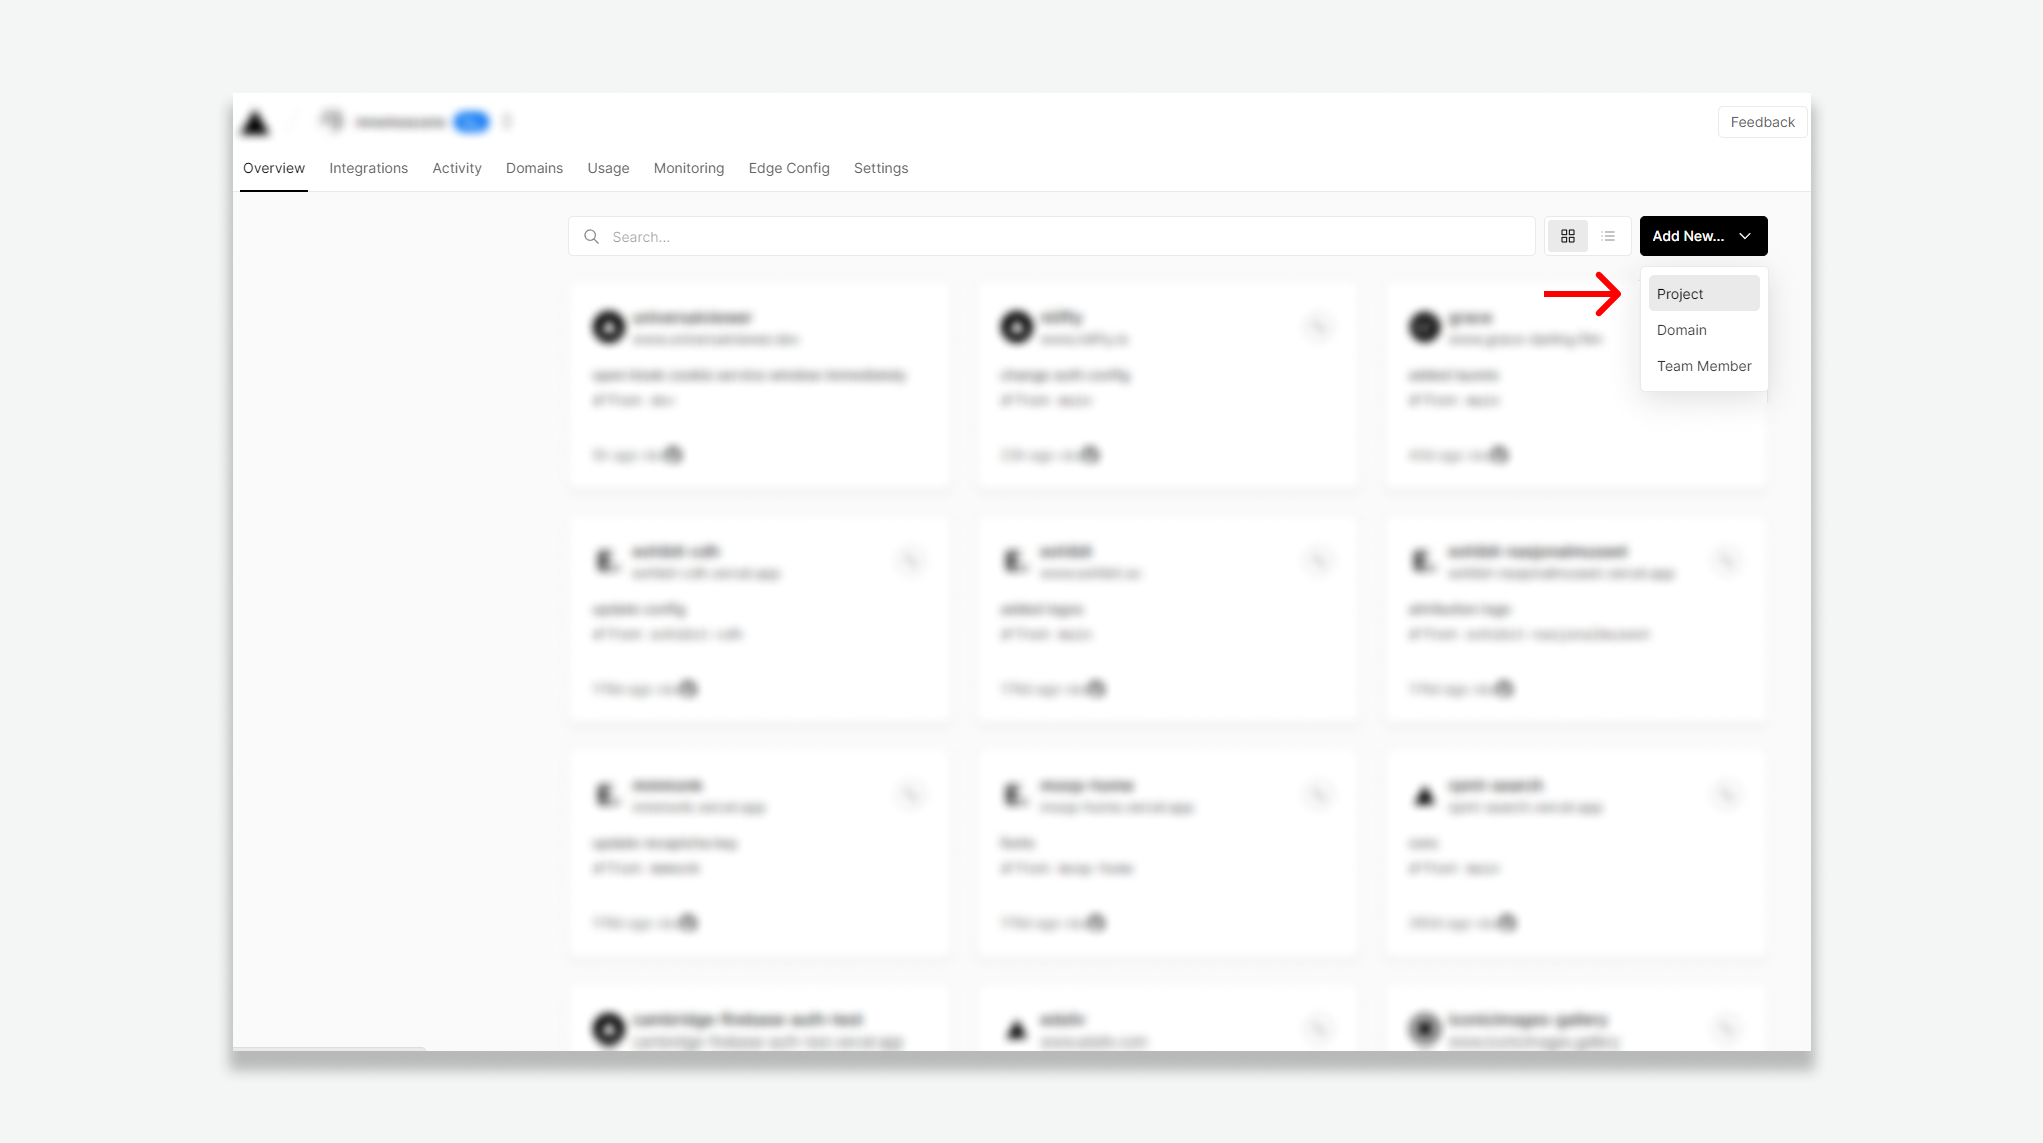
In your Vercel account, select Add New then Project.
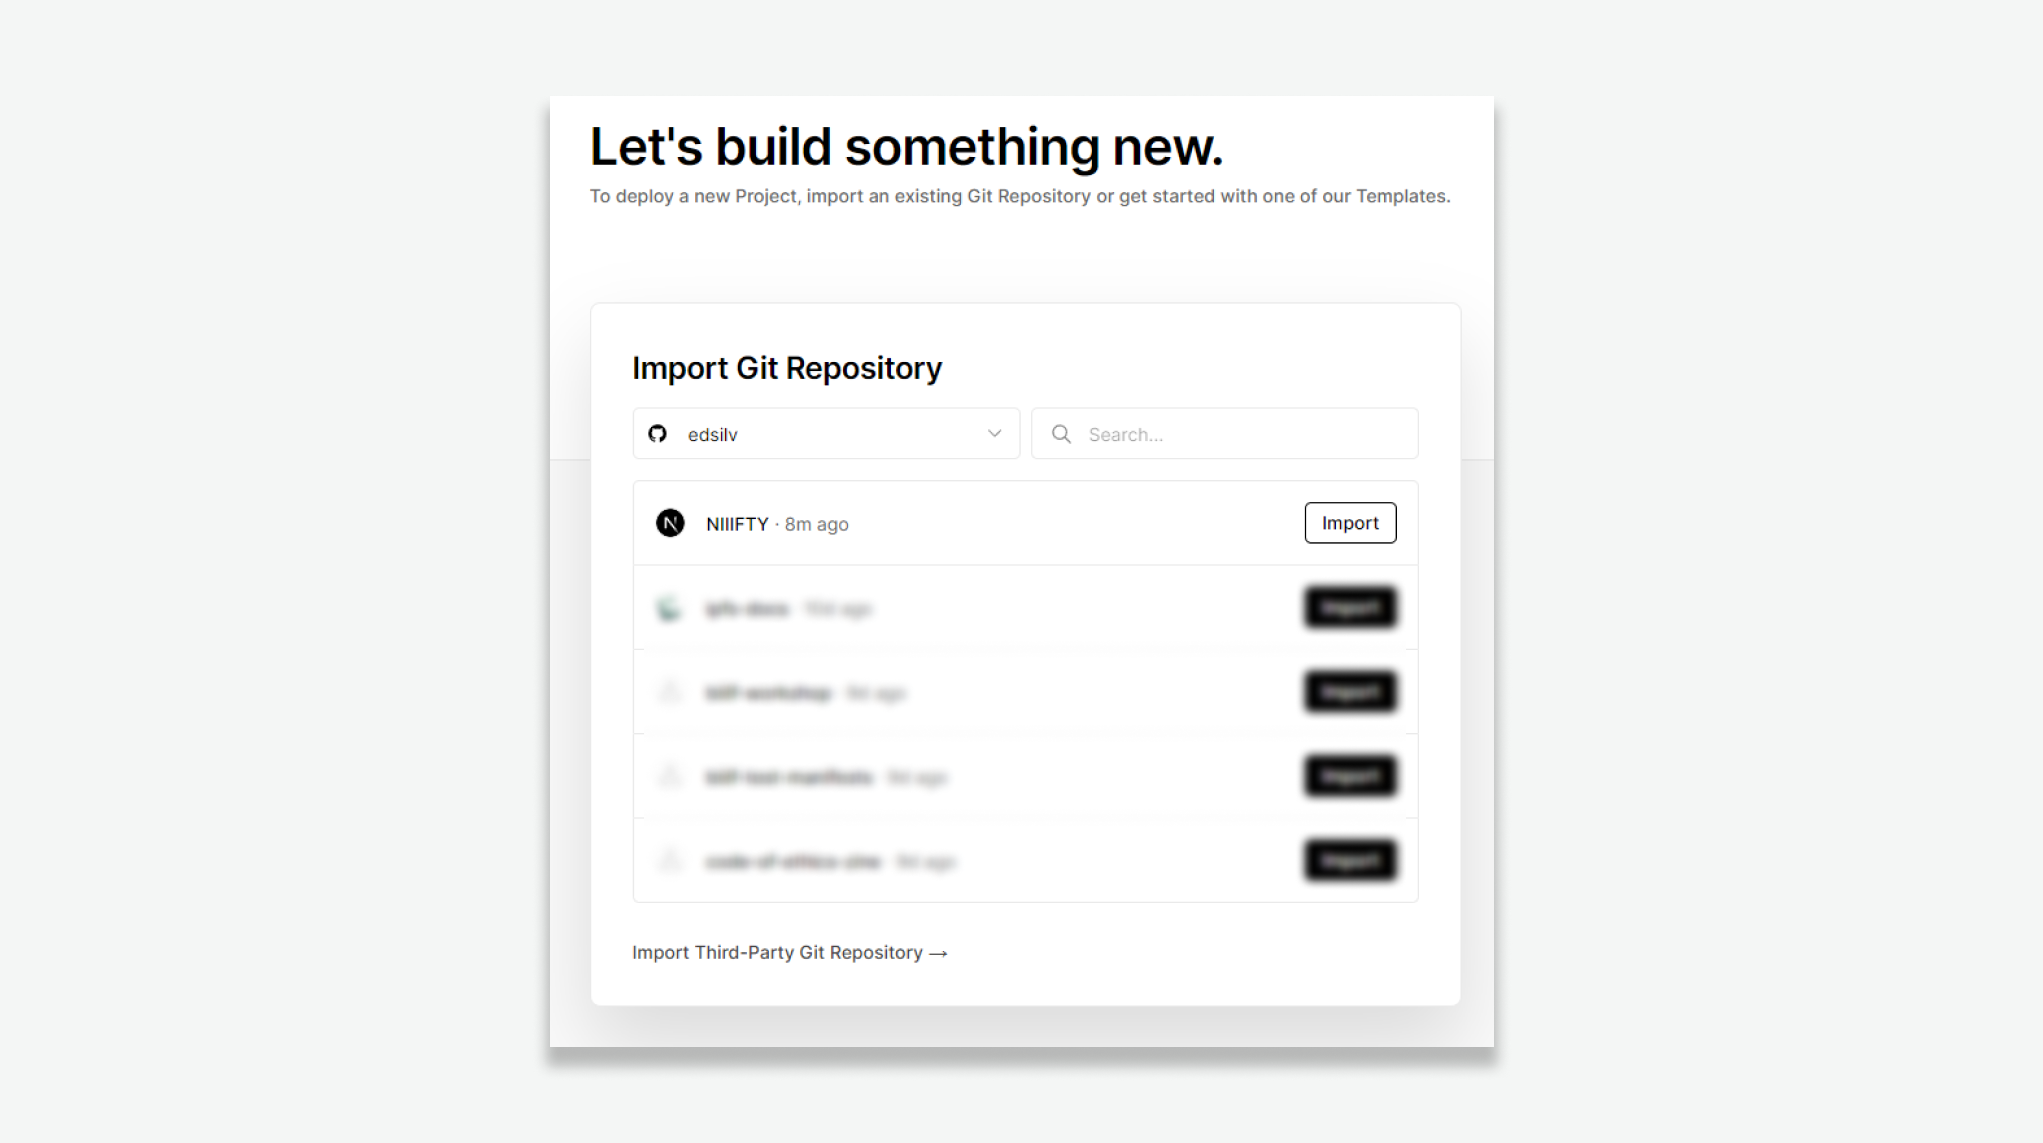
Find your NIIIFTY fork and select Import
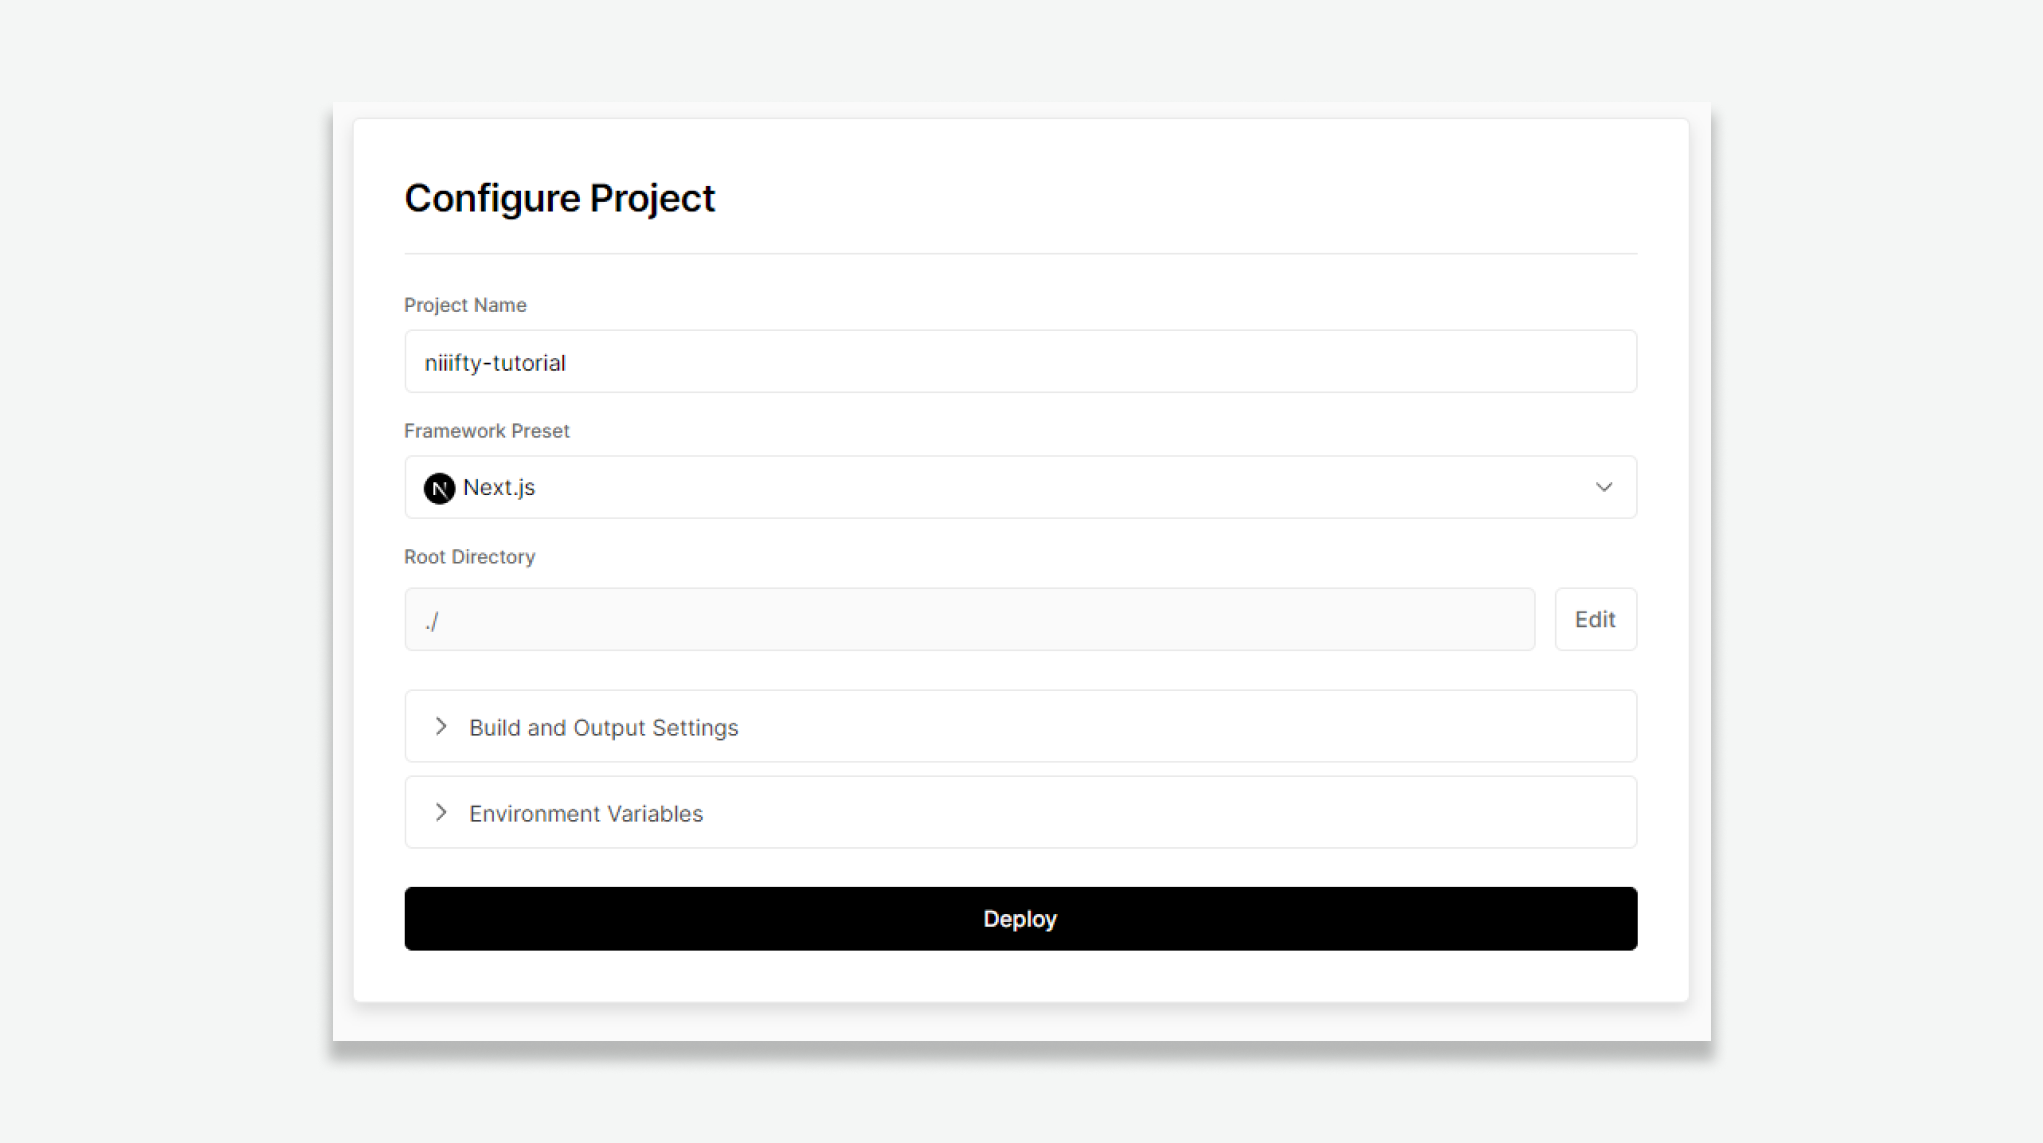
Name your project e.g. niiifty-tutorial and select Deploy.
Once deployed, select Continue to Dashboard.
Here you can see the domain assigned to your project e.g.niiifty-tutorial.vercel.app
In vscode, add this domain to the site section of your niiifty.config.ts file.
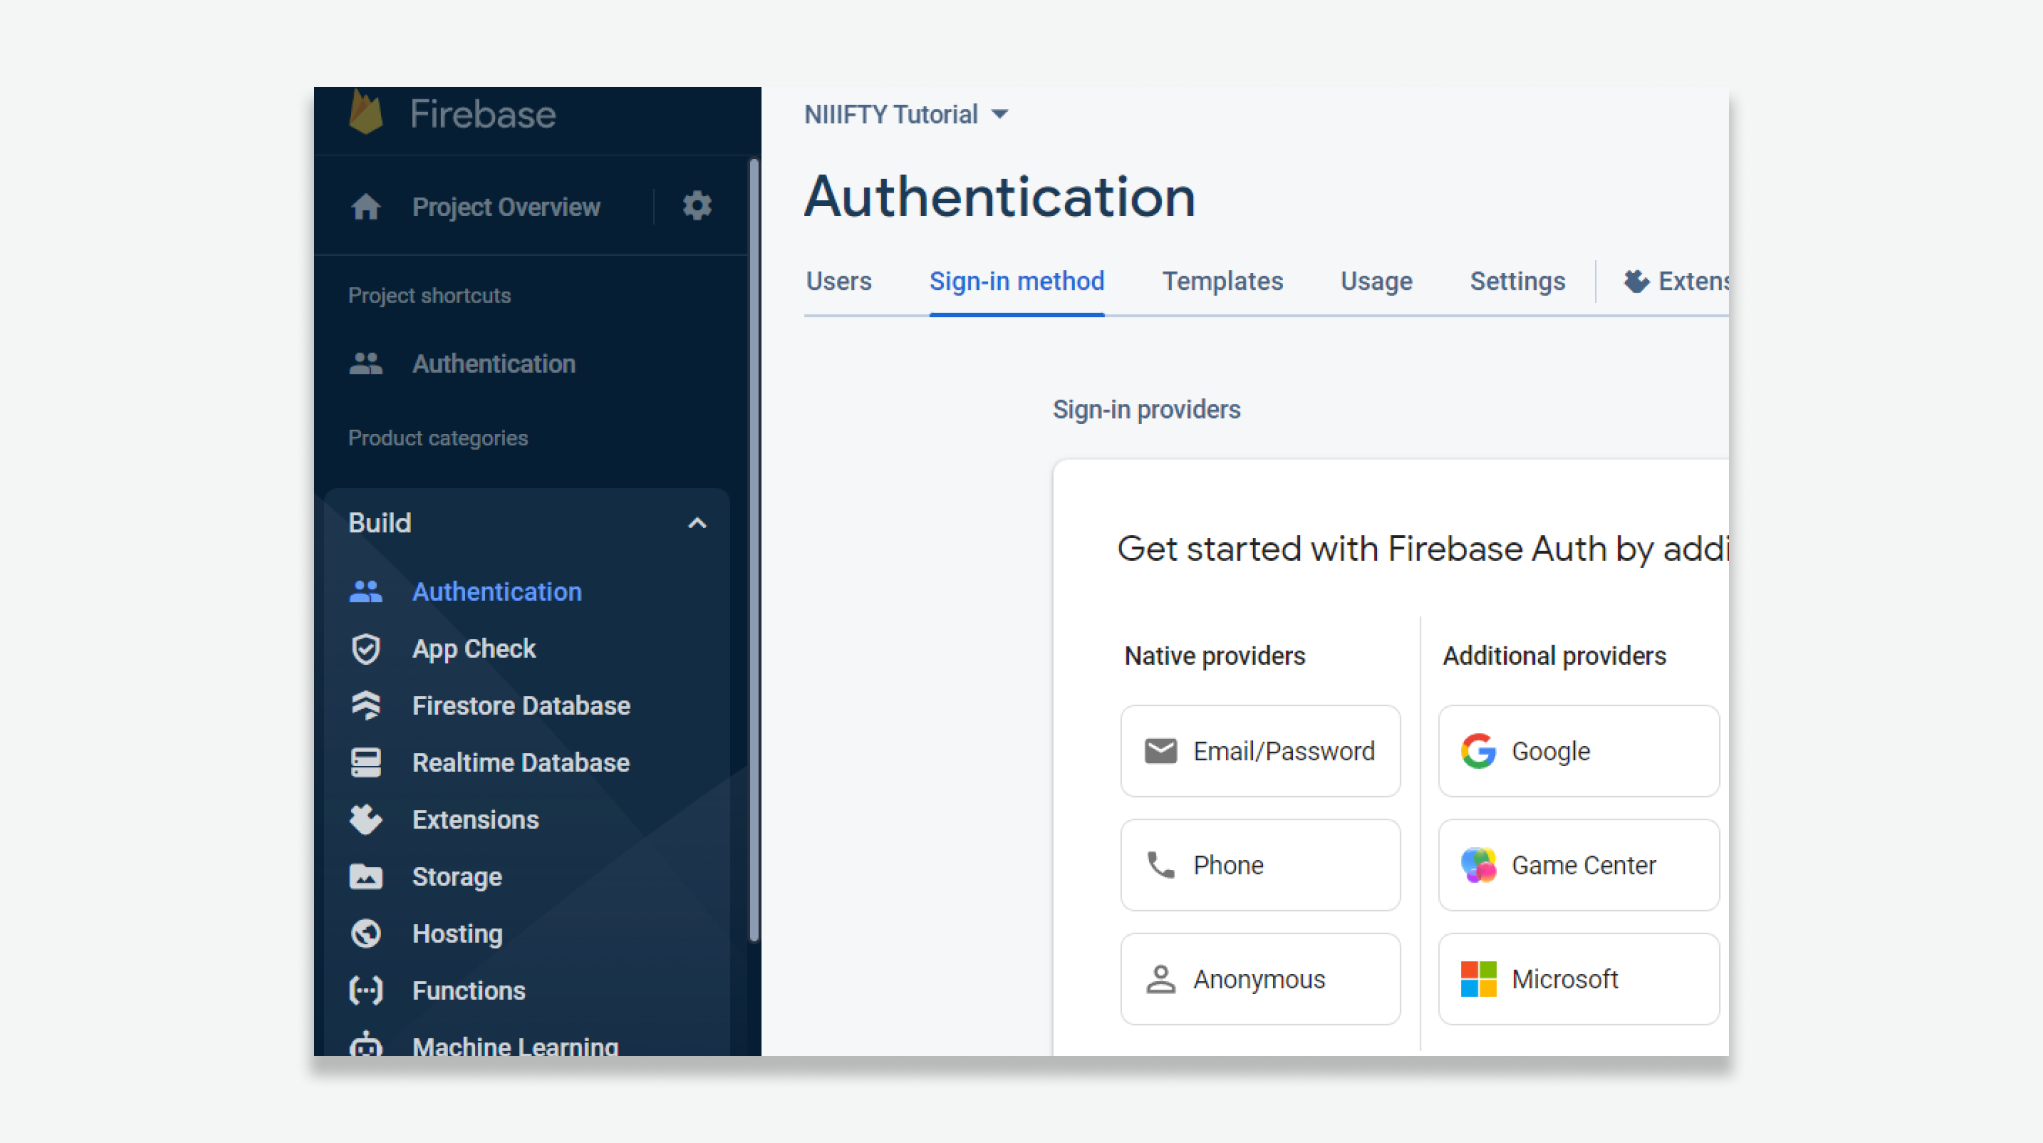
In your Firebase console, expand Build in the left-hand menu and select Authentication.
Under Additional providers, select Google.
Select enable.
Under Project public-facing name, enter niiifty-tutorial (or another name of your choice).
Under Project support email, enter an email address (e.g. your gmail address).
Click Save.
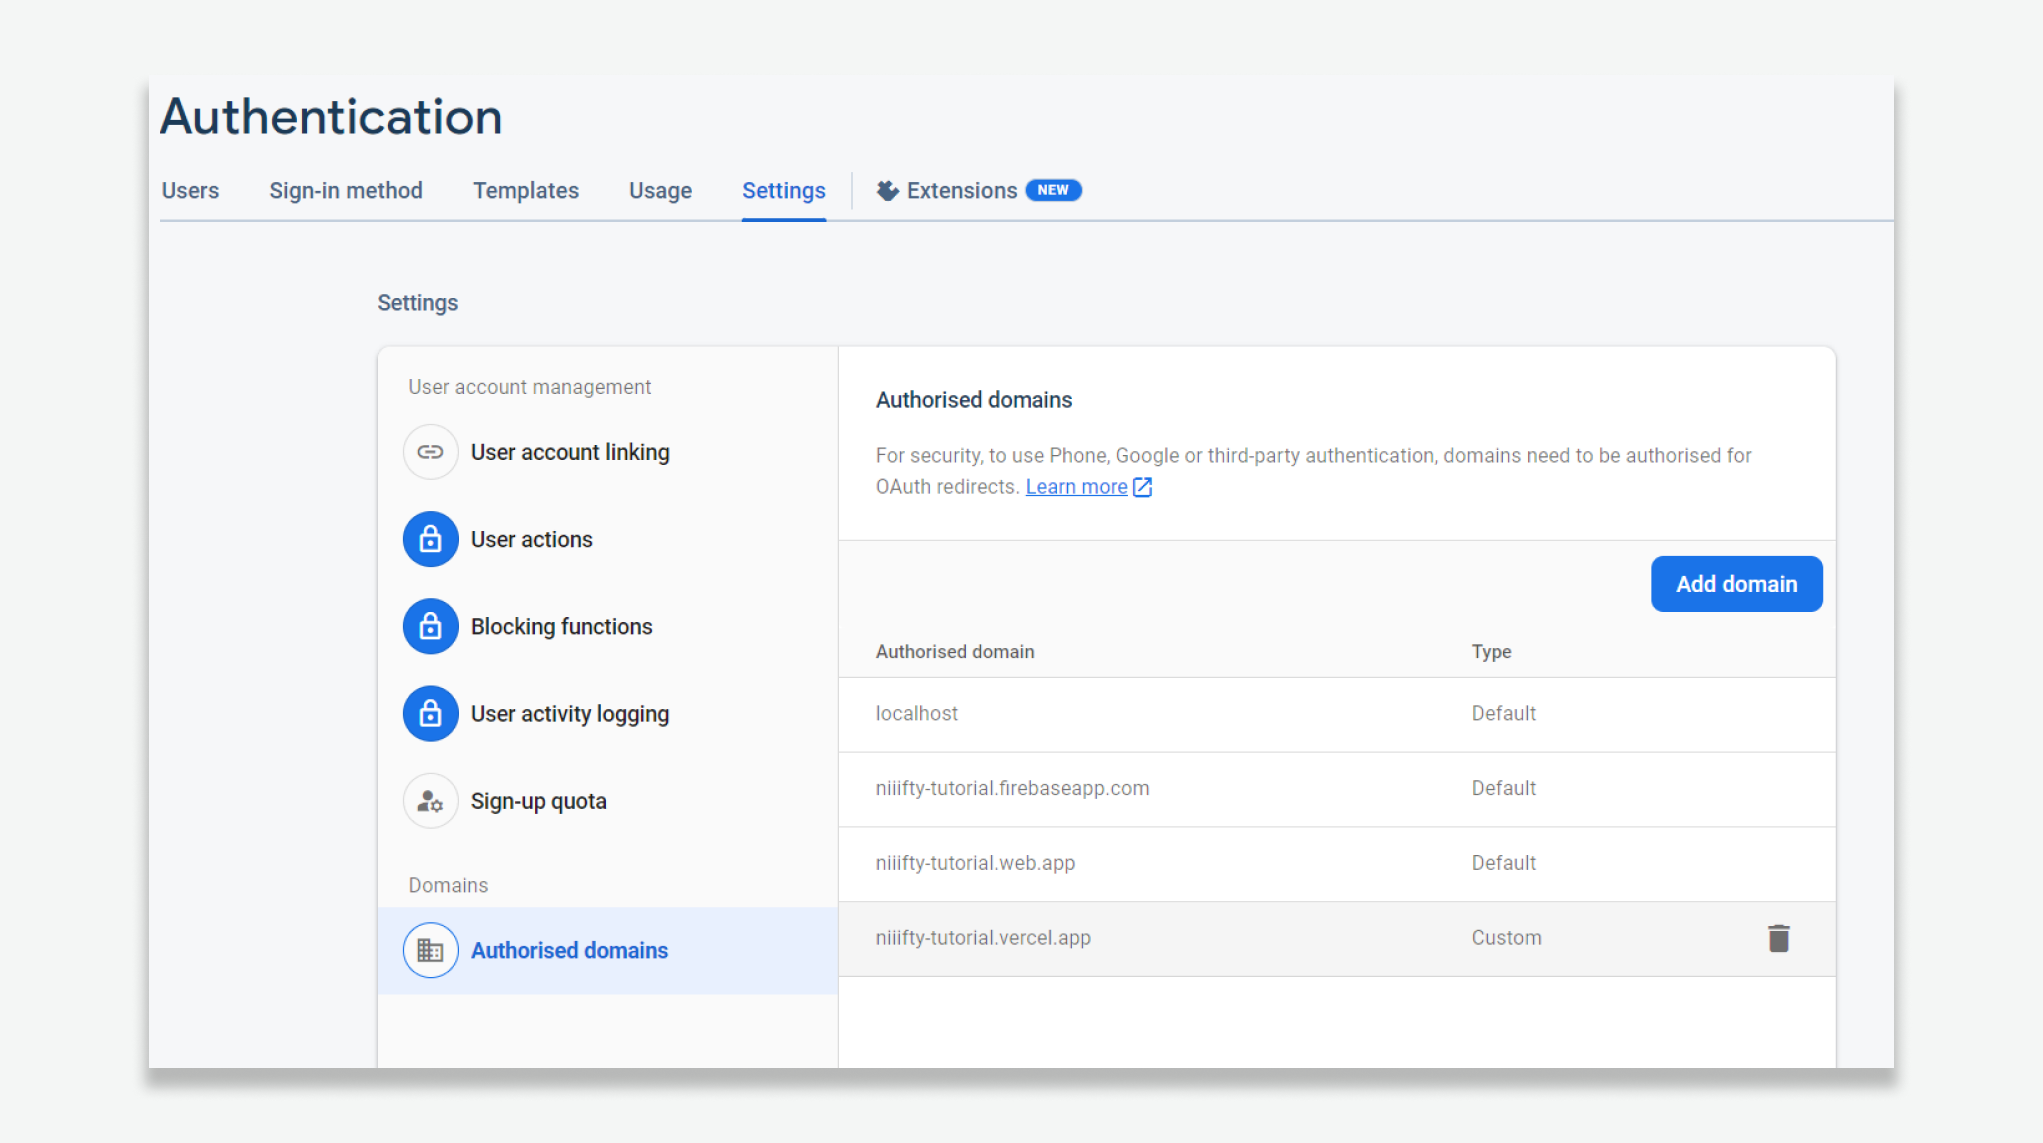
Under Authentication > Settings, select Authorised domains
Add your vercel project domain, e.g. niiifty-tutorial.vercel.app (this can be found on your vercel project dashboard).
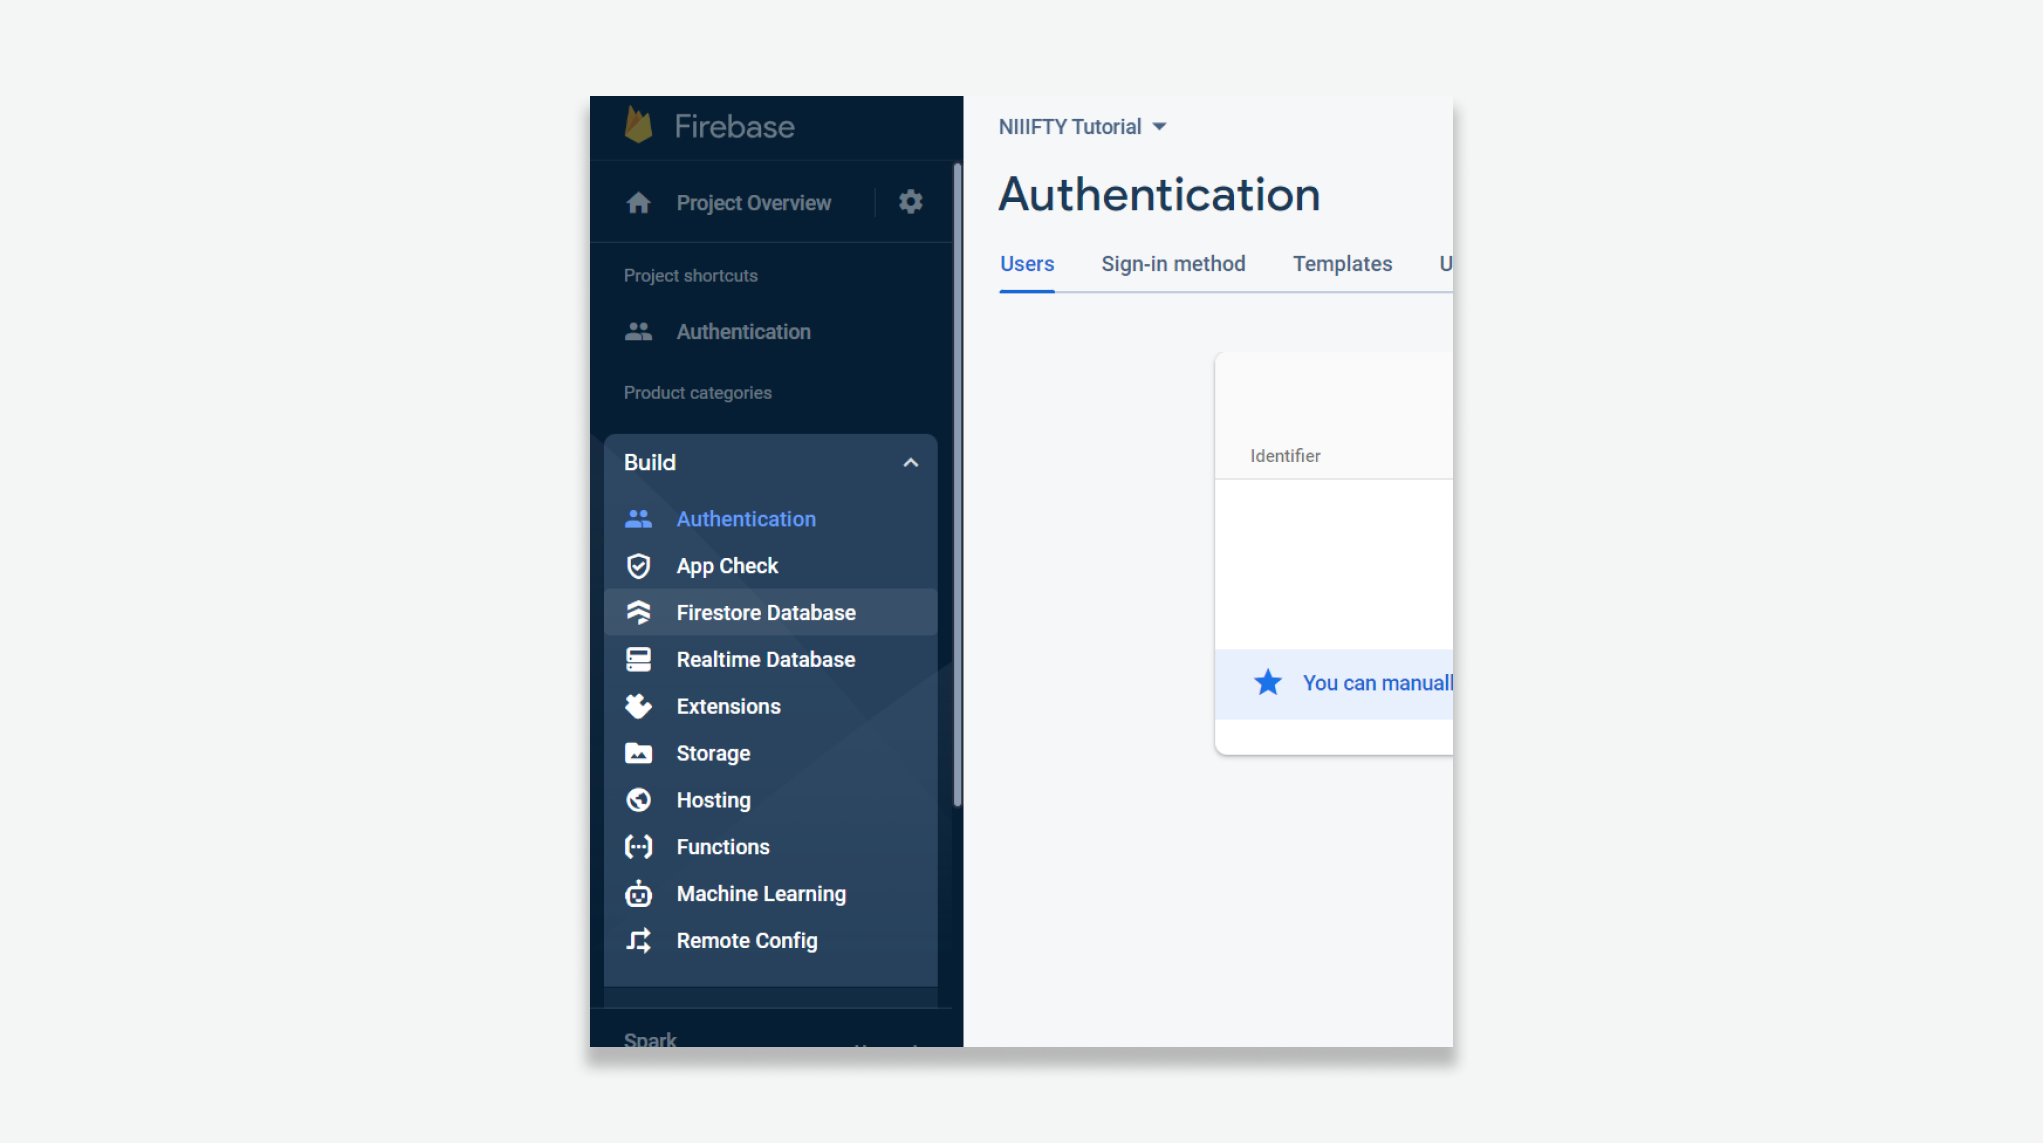
In your Firebase console, expand Build in the left-hand menu and select Firestore Database.
Select Create Database.
Leave the settings on their default values and click Next.
Choose a region for your database and click Enable.
In your Firebase console, expand Build in the left-hand menu and select Firestore Database.
Select Create Database.
Leave the settings on their default values and click Next.
Choose a region for your database and click Enable
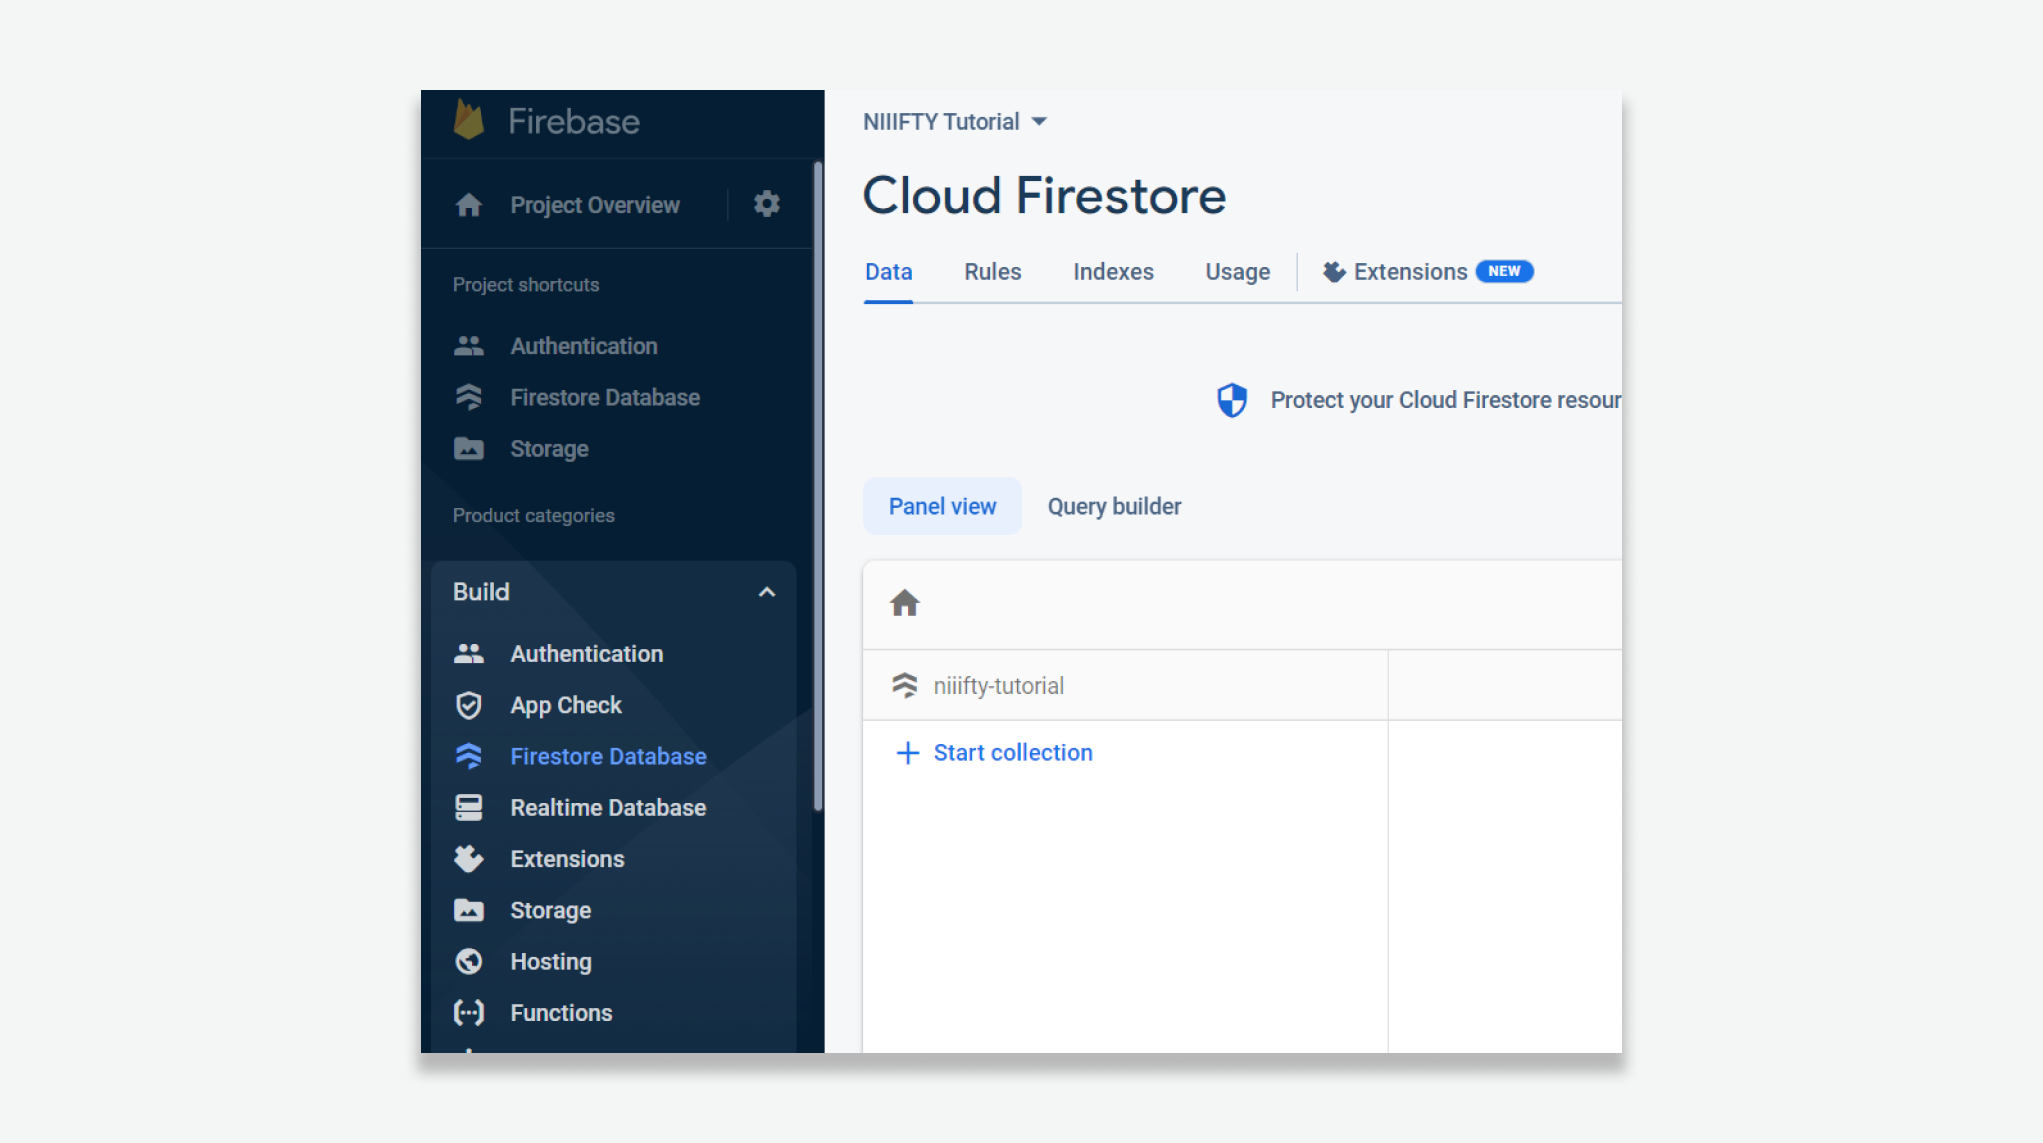
In your Firebase console, expand Build in the left-hand menu and select Storage.
Click Get Started.
Leave the settings on their default values and click Next, then Done.
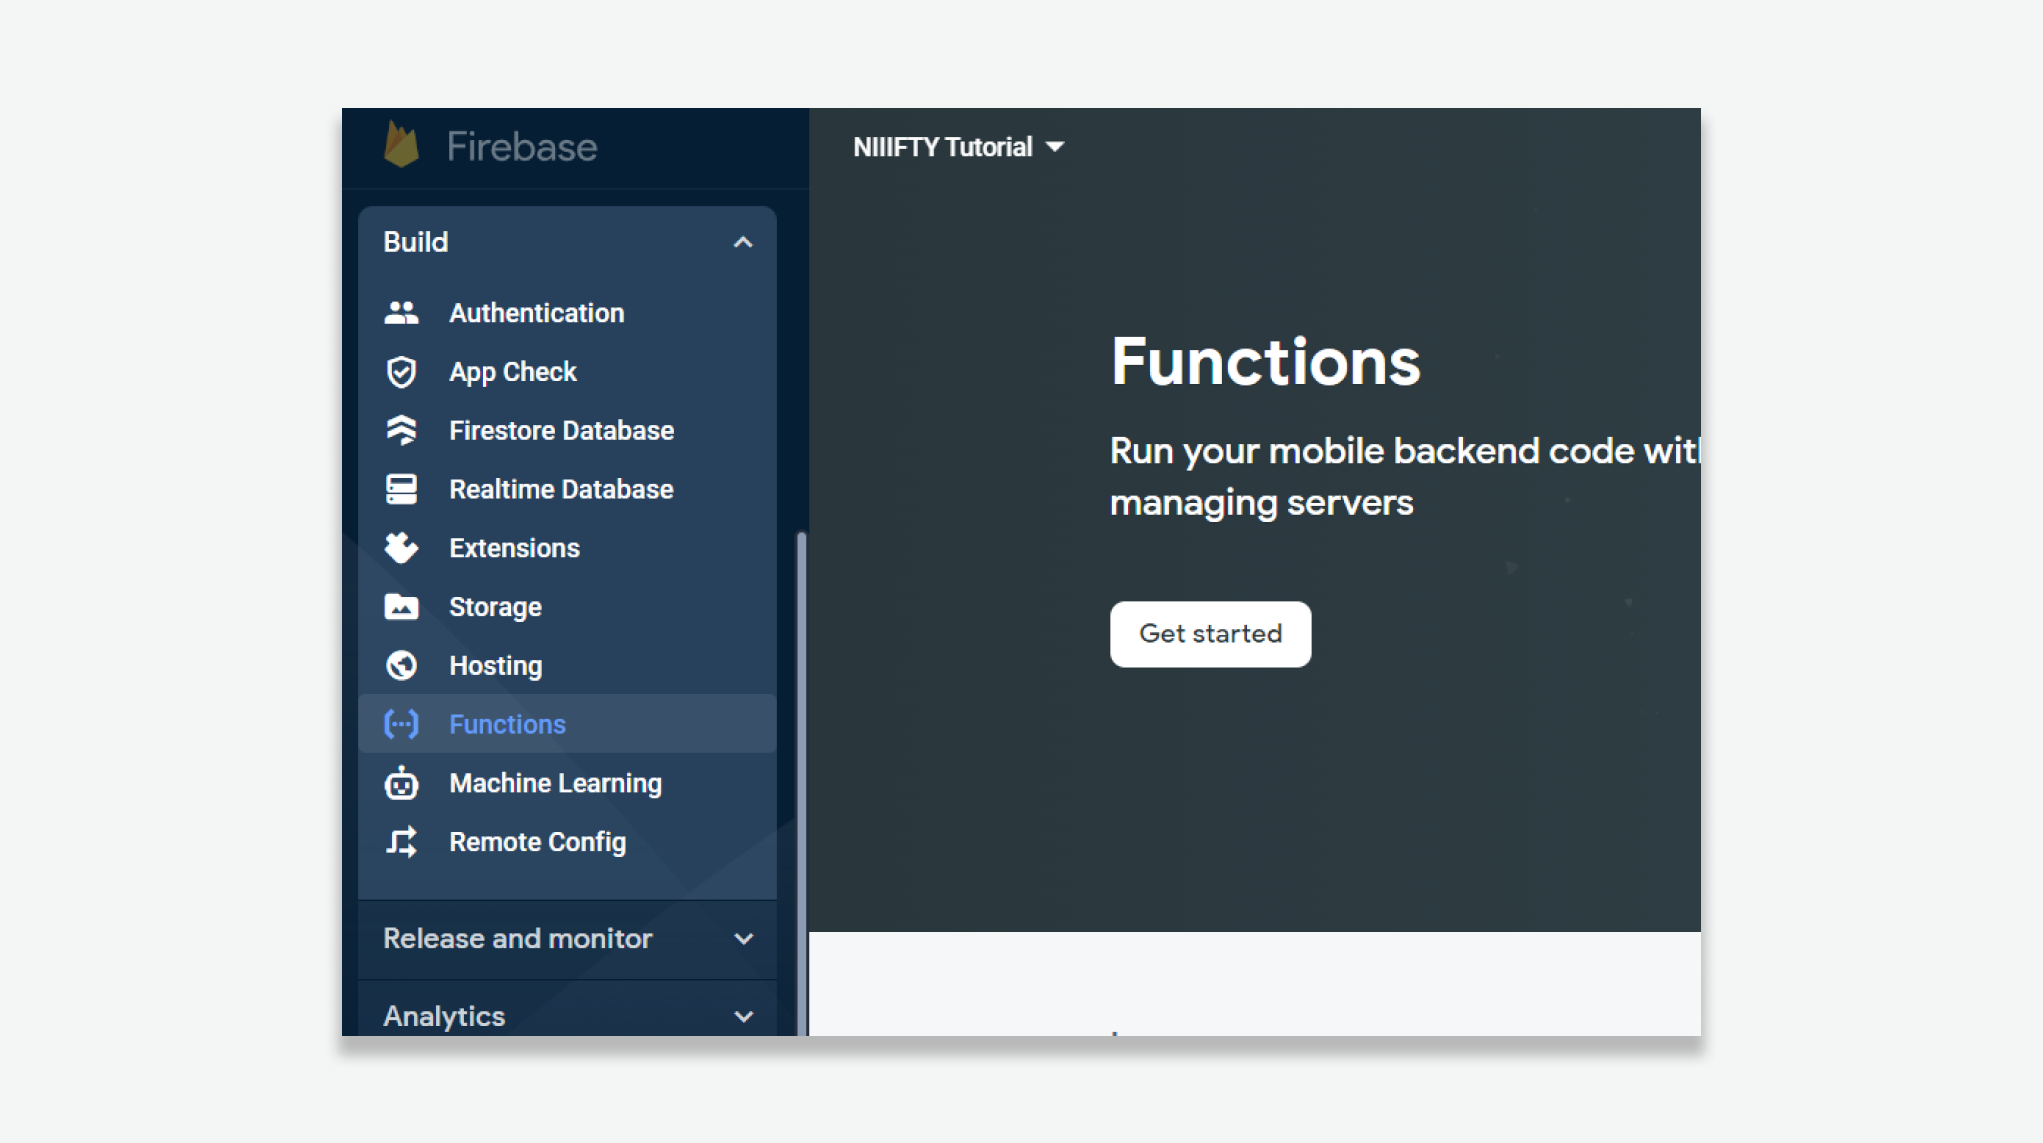
In your Firebase console, expand Build in the left-hand menu and select Functions.
Click Get Started, Continue, and Finish.
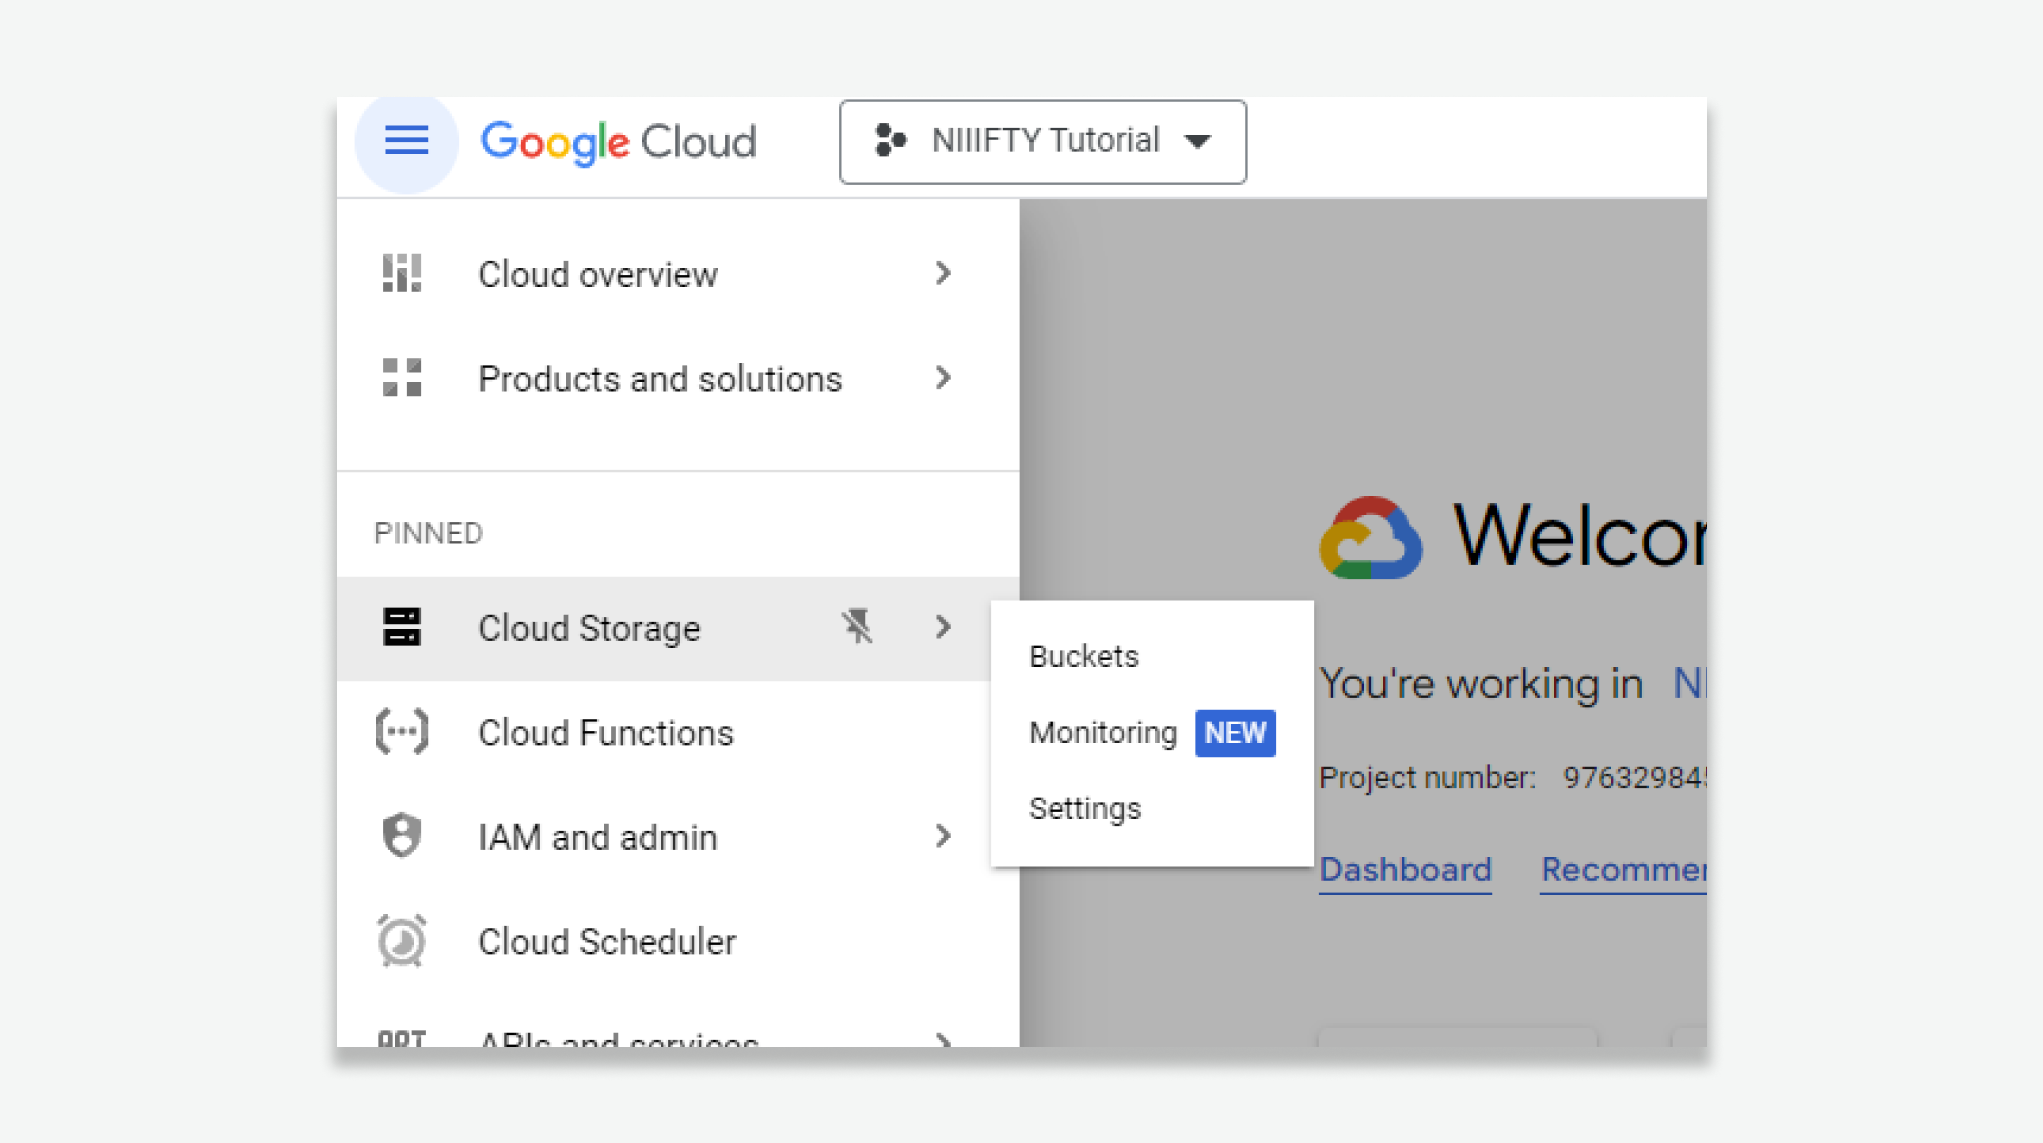
Browse to your Google Cloud console
Select your project in the drop down menu at the top.
Expand the left menu and select Cloud Storage.
Select your project's public bucket, e.g. niiifty-tutorial.appspot.com
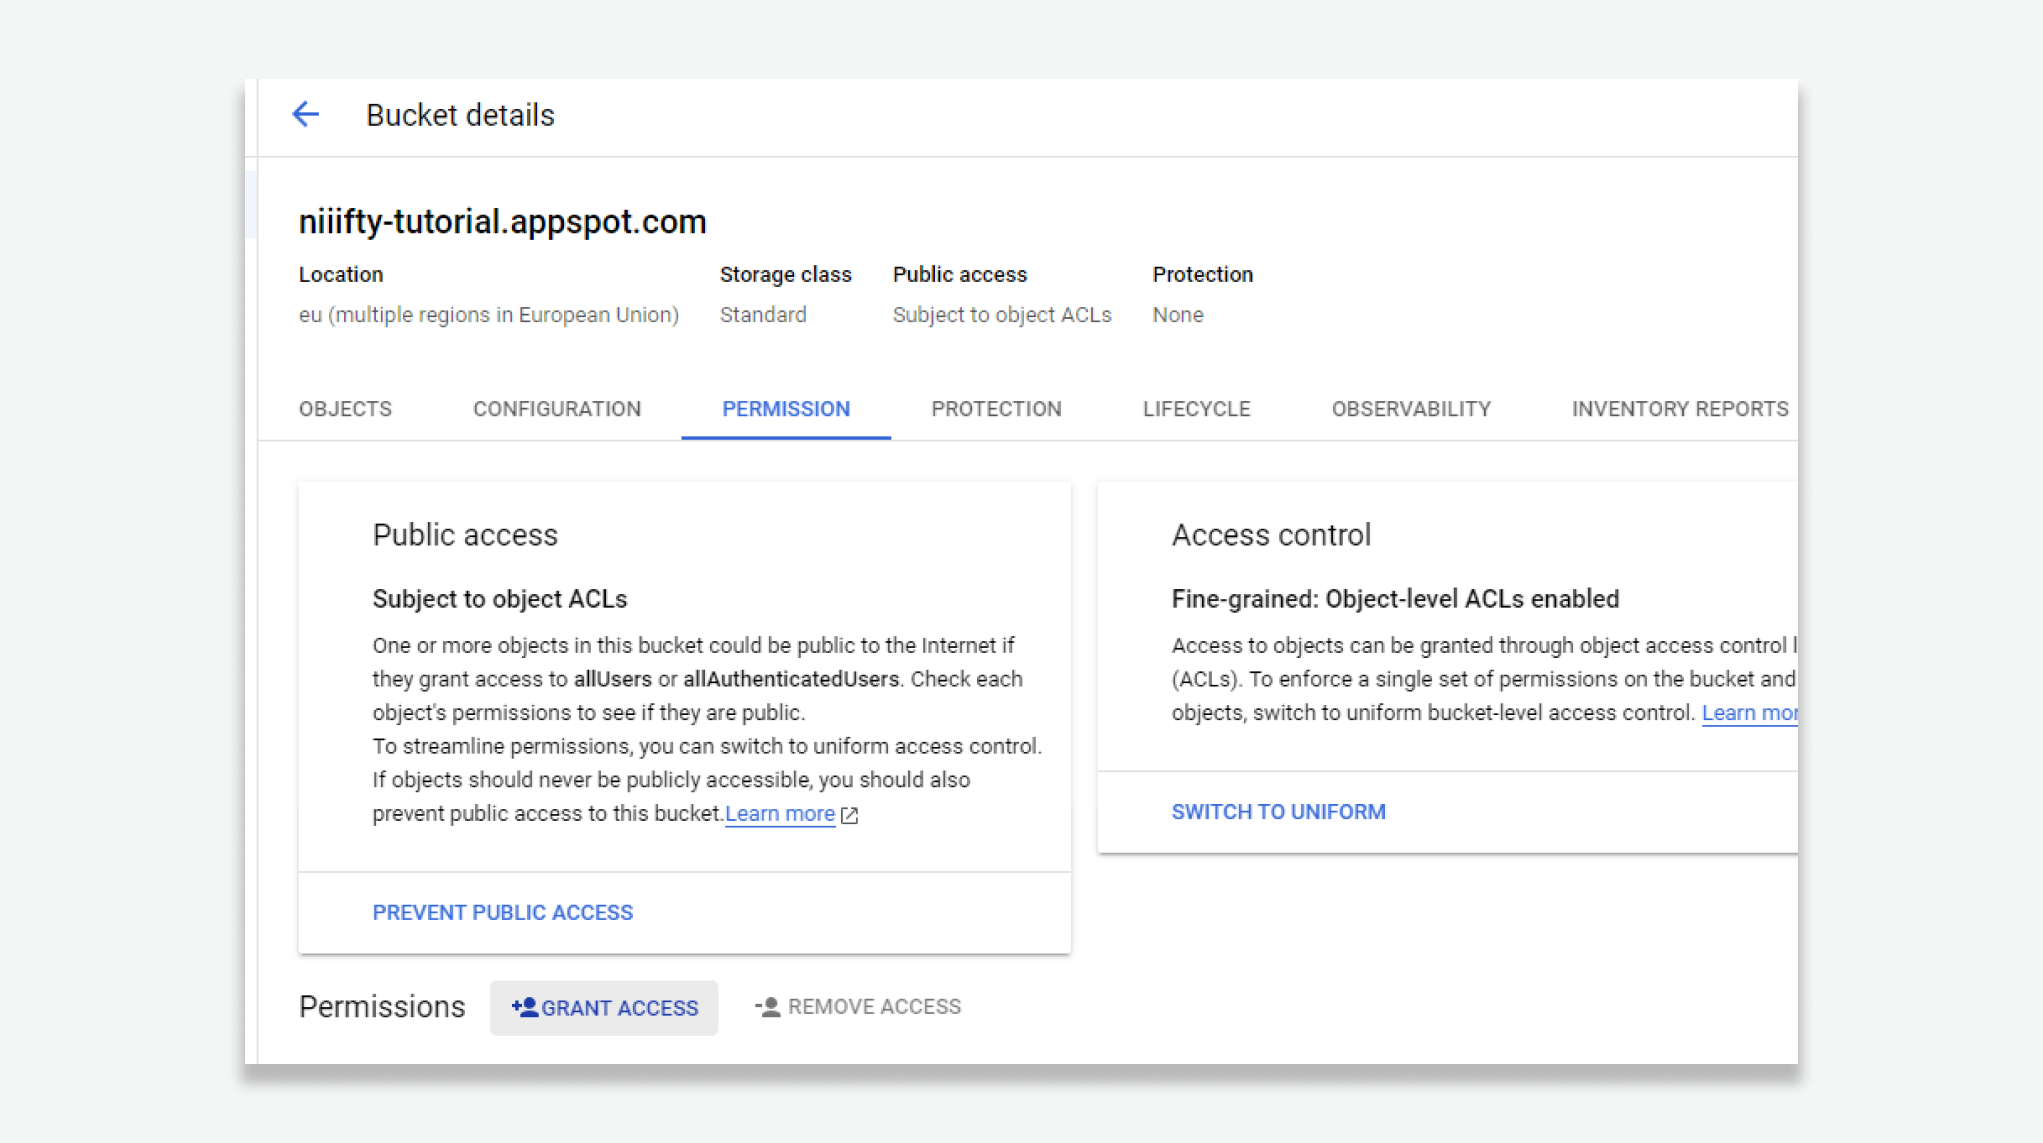
Select the Permission tab, then Grant Access.
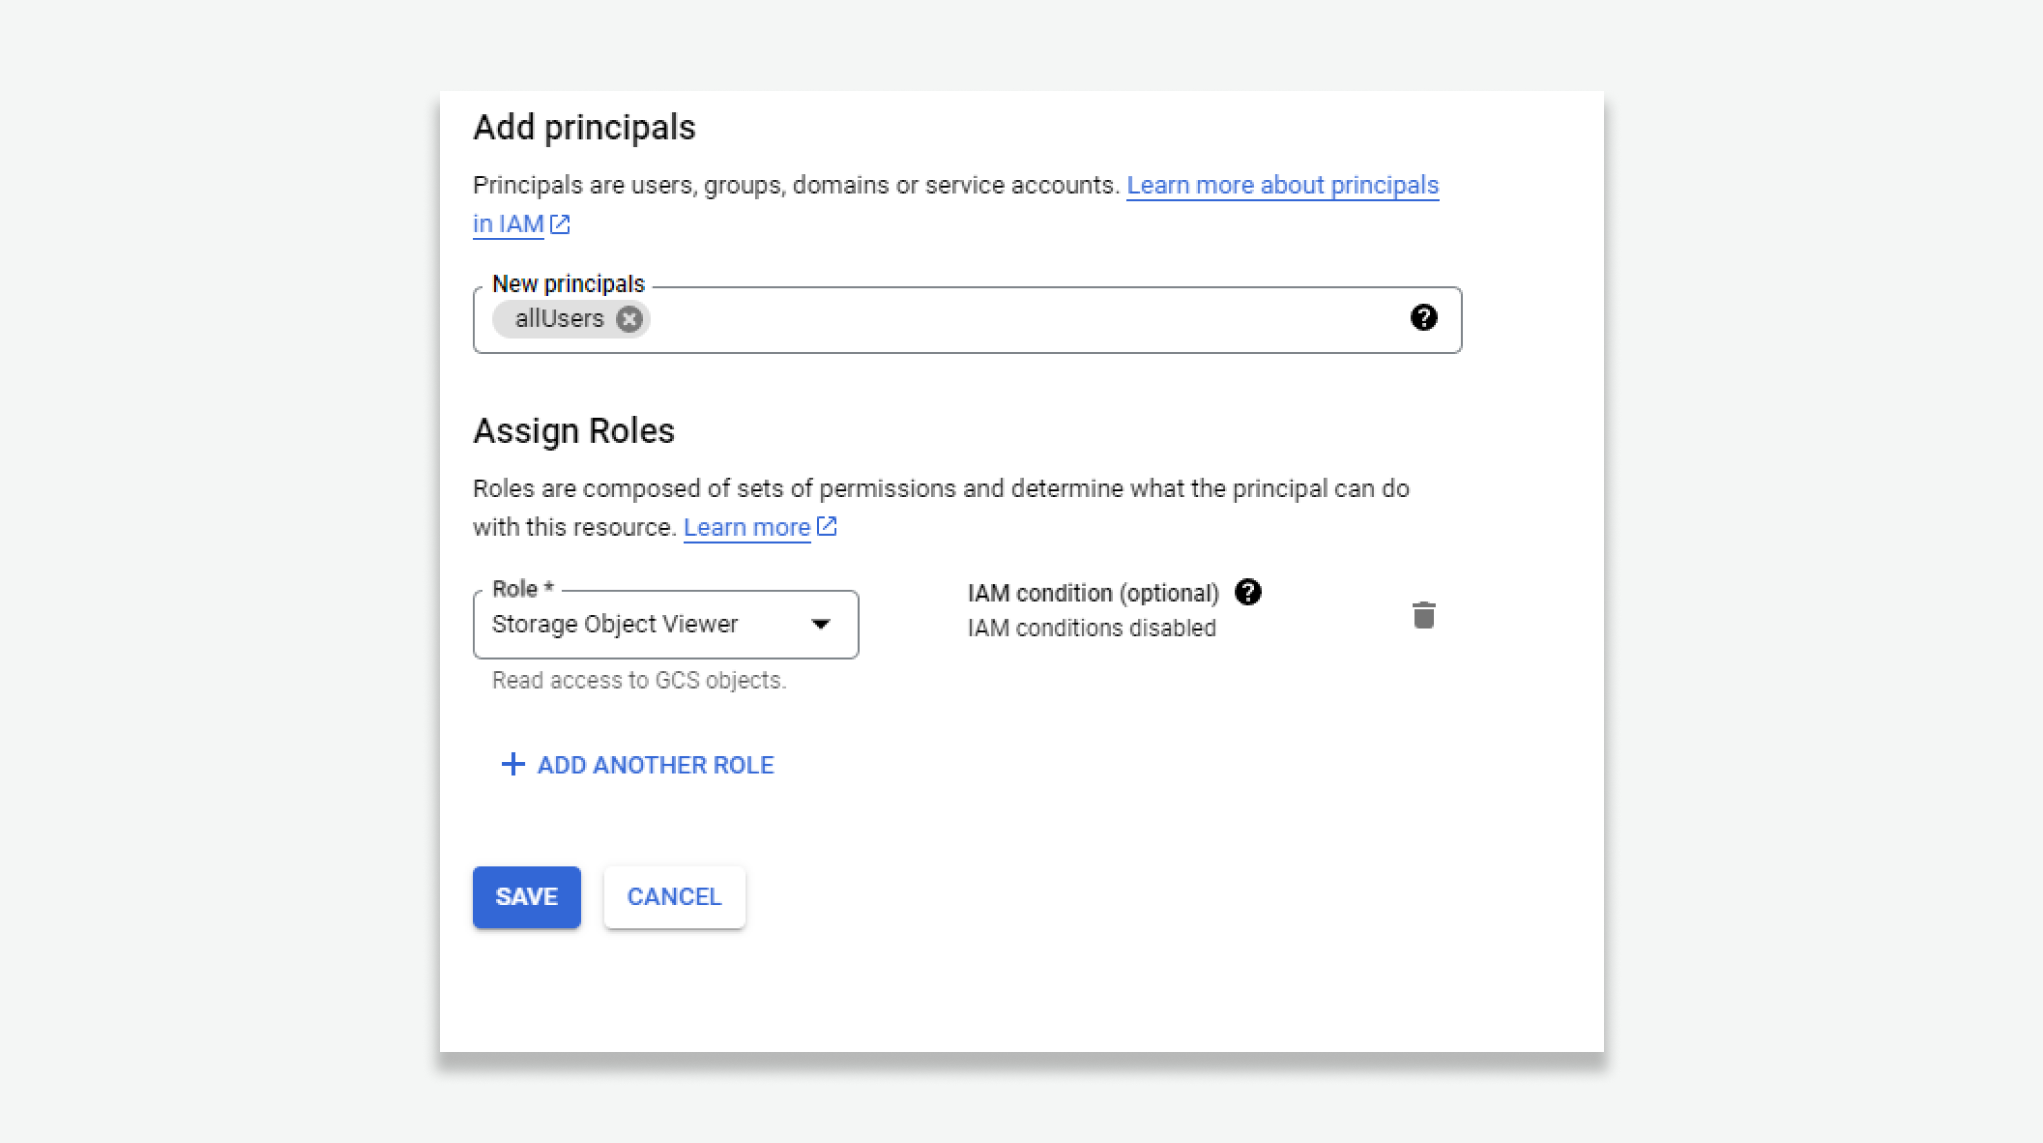
In the expanded side panel, add New principles allUsers, with a Role of Storage Object Viewer.
Click Save.
Confirm Allow Public Access.

Now select the Configuration tab in your bucket settings and copy the gsUtil vale.
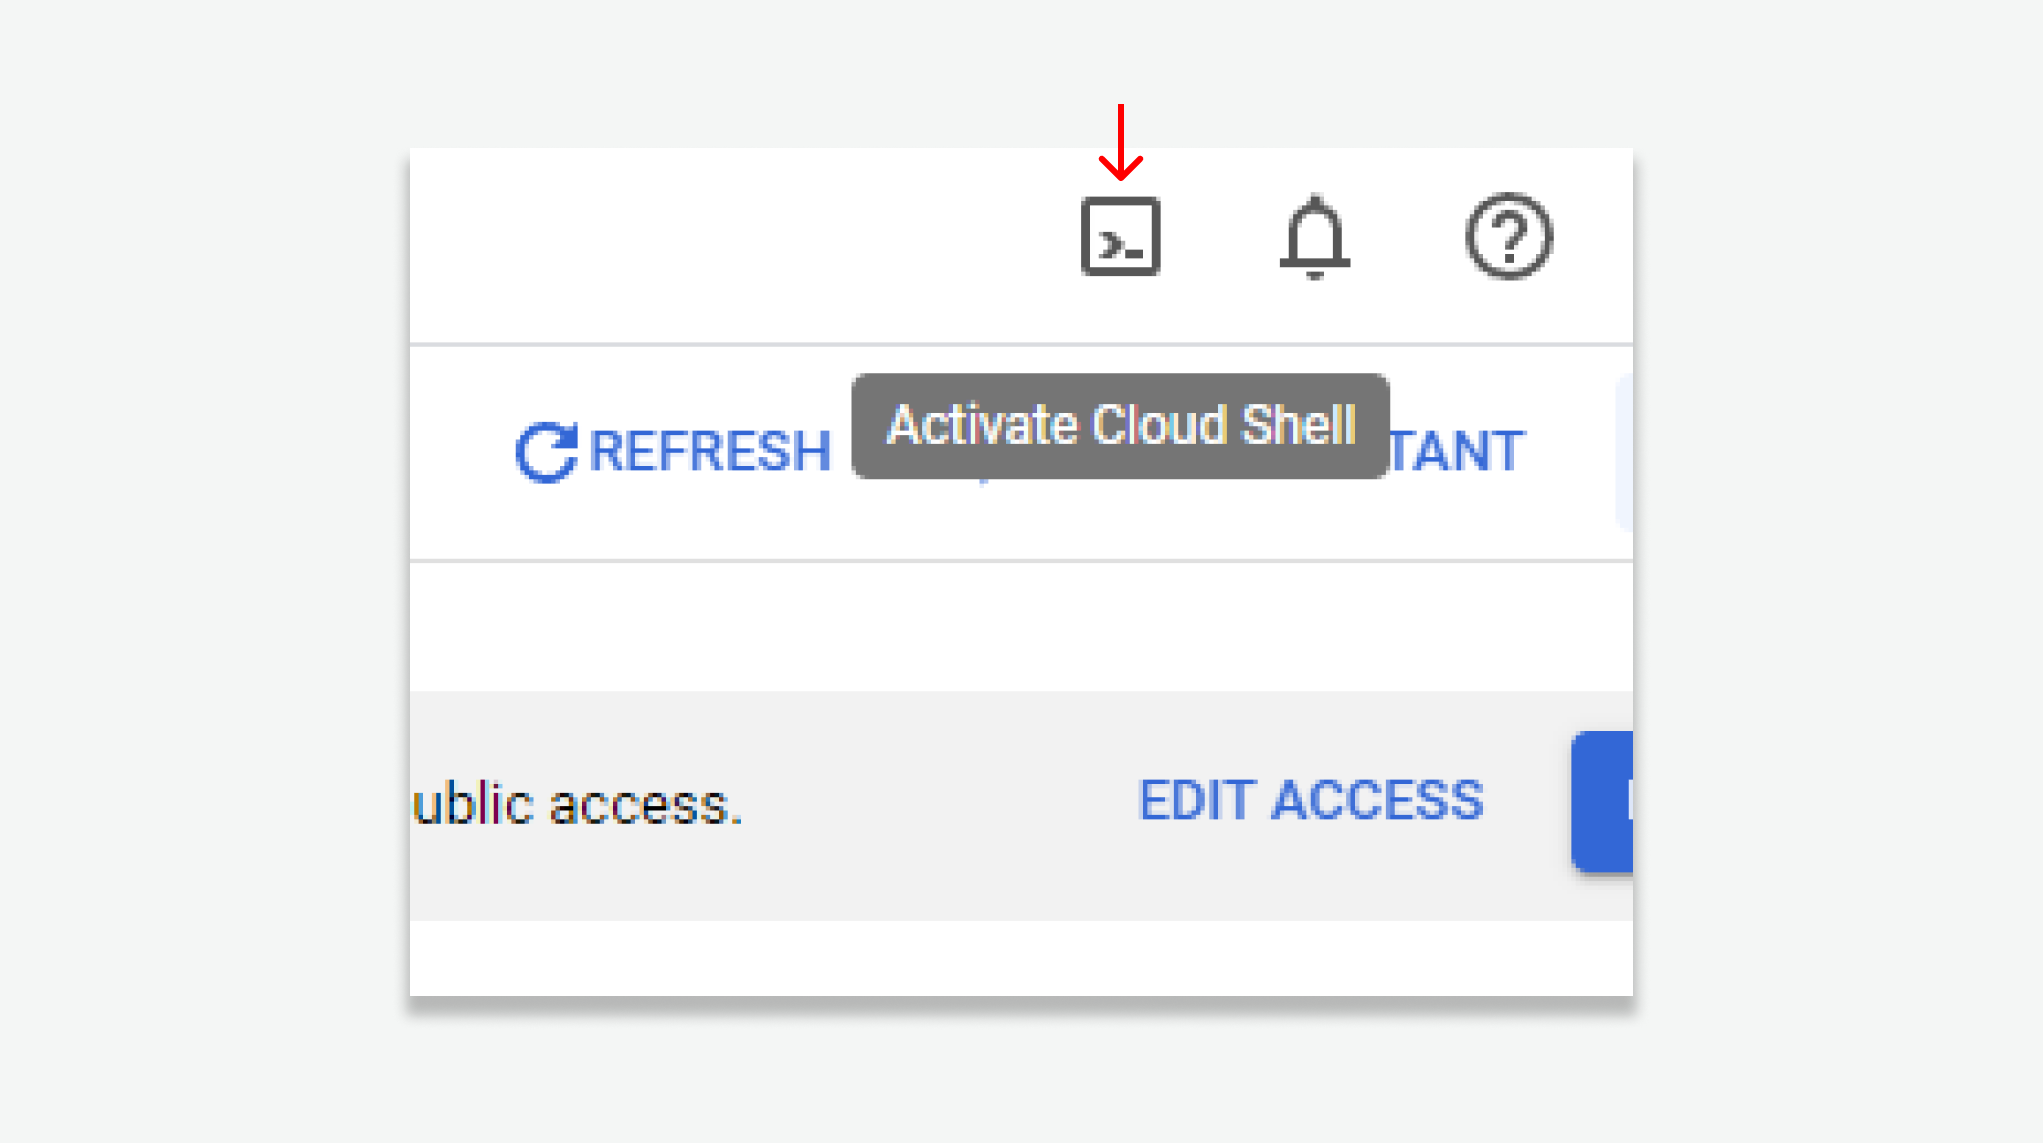
Activate Cloud Shell and type in
printf '[{"origin": ["*"],"responseHeader": ["*"],"method": ["GET","POST","HEAD"],"maxAgeSeconds": 86400}]' > cors.json
gsutil cors set cors.json [gsUtil]
replacing [gsUtil] with your gsUtil value.
You may be prompted to authorise Cloud Shell, click Authorise.
You can now access the files generated by NIIIFTY via CORS.
Setup Complete
Congratulations! If you now visit your Vercel project's URL e.g. https://niiifty-tutorial.vercel.app you will be able to create an account associated with your Gmail address and start uploading files!